|
|
|
|
Products mentioned in this Article
--None--
|
|
|
|
|
|
|
|
|
 |
|
|
 |
Multi-Media Models: Part Two
Resin Components
with Evan Allen
In the last article (read part one here; read part three here), I looked at the plastic components used in Flames Of War models. This week I'll examine the resin components.
The resin used for the hulls and turrets etc is a polyester resin, with a filler and pigment for colour, which is quite hard and a little brittle around thinner edges. You may not be aware but this resin is a type of thermoset plastic, which essentially means it goes hard by adding a catalyst. It’s commonly used, along with fibreglass, in fibre reinforced plastic products like boats and showers. Once it’s gone hard it becomes basically inert and no longer toxic but like all plastics not so good to eat!
Learn more about the Master Modeller, Evan Allen here...
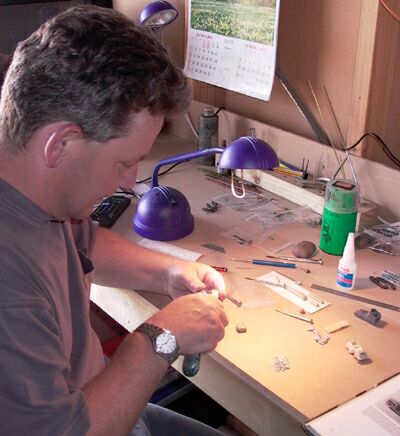
Left: Evan, kicking it old skool.
|
Once the constituent parts of the resin are mixed together it is hand poured into RTV (room temperature vulcanising) rubber moulds and then placed in a vacuum chamber until set. Once set the items are removed from the moulds and left to harden up fully before going to the grinding team where the resin pouring plug is, mostly, removed on large belt sanders.
|
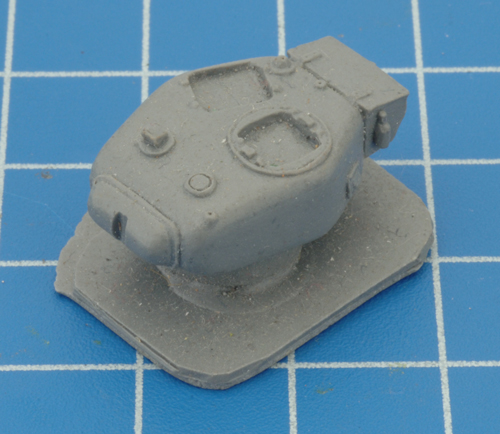
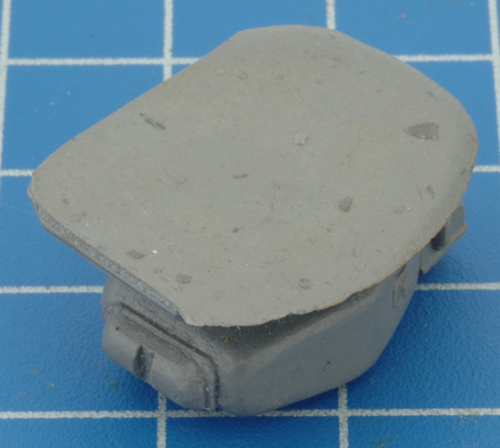
| Below left & right: Example of the pouring plug on a Churchill turret. |
 |
 |
The dust residue from this process is cleaned off
and the finished items are then ready for the packing team. At each
point in the process they are checked for flaws and any found will be
thrown away, occasionally the odd air bubble or bit of excess resin from
a slightly torn mould gets through but these are easy to deal with.
At
the packing point the turrets may be glued onto the hull with hot glue
guns to prevent them bouncing around in the blisters during shipping.
This glue is not very strong and usually just needs a firm twist to pop
off and then the glue itself peels off easily.
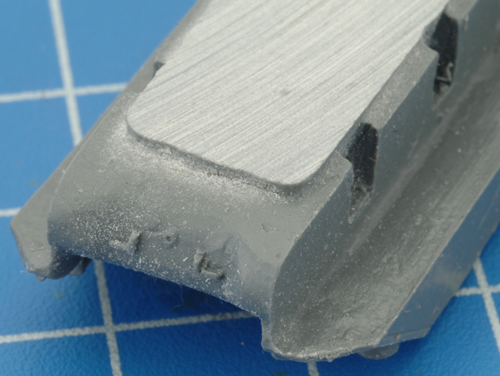
Right: The underside of a resin Sherman hull covered with a small amount of dust left over from the grinding process. |
 |
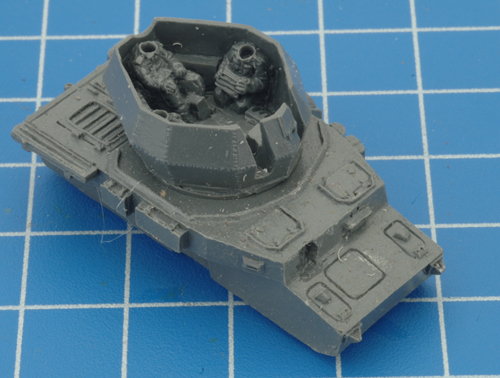
| Below: A resin Wirbelwind turret and hull fresh from the blister. |
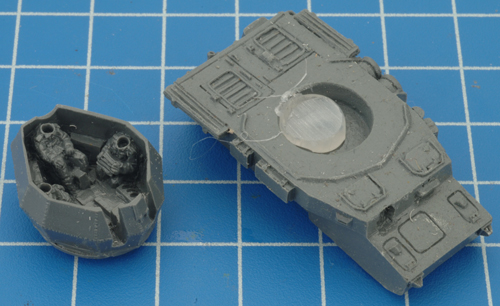
Below: Removing the turret reveals the hot glue used to secure the turret in place during the packing process. |
 |
 |
Tip: If a turret is proving difficult to get off then just sit the resin in a small jug of hot water for a couple of minutes and the glue will soften up enough for you to remove it.
|
|
When you get a Battlefront blister or box
containing resin parts then it’s a good idea to at least remove any
remaining dust and other objects before starting assembly. The resin
castings can also sometimes have small pieces of excess resin stuck to
it from the manufacturing process but these can usually be removed easily
enough. There is no release agent used in the process so there should
be no need to wash the resin castings but if you choose to do so then a
bit of warm water and a little washing up liquid will do the trick nicely.
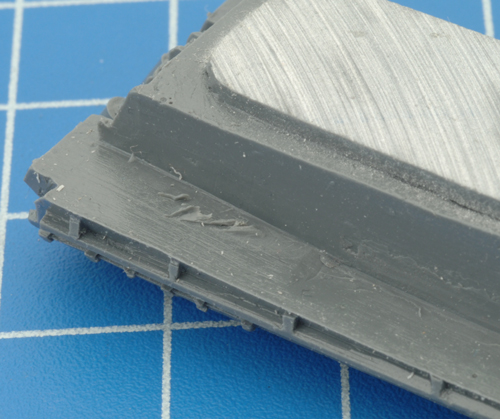
Left: The underside of this Panther G (Late) hull has a small amount of excess resin left over from the moulding process.
|
| Tip: Keep an old soft bristle toothbrush handy for removing dust & other loose surface contaminants. Give it a wash or rinse every now and then to stop dust build up and don’t use it for your teeth again by mistake! |
After cleaning check over the resin carefully for any flaws like air
bubbles or lumps of excess resin that may impede assembly. Air bubbles
can easily be fixed by just filling with something like Greenstuff
or any similar hobby putty product. Removing excess resin may need a
bit more work though and there are several ways to approach this, if
it’s small enough you may be able to just pop it off with the end of a
flat headed screwdriver or steel ruler and finish with a quick sanding;
larger bits can be removed with a micro file like the ones in the GF9
set.
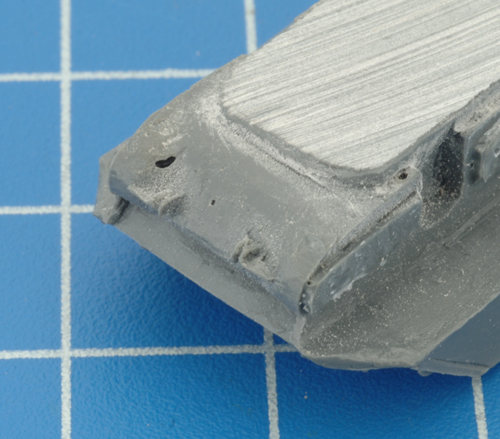
Right: A couple of small air bubbles on the underside of a Sherman hull.
|
|
Tip: You can remove larger bits of resin quite quickly by using a heated knife blade to cut away the bulk. Just use a candle and hold the knife blade at the top of the flame (the hottest part) for 20-30 seconds and you’ll find it cuts through the resin almost like its butter. The heat only lasts for a few seconds so you might need to repeat the operation several times. Make sure you have some ventilation to remove any fumes - you may also need a draft guard for the candle - and be careful of the hot knife blade!
|
|
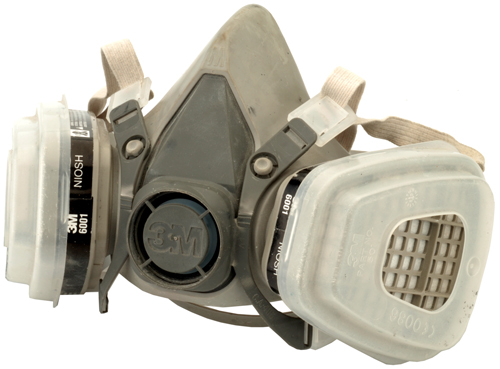
If you’re creating some sanding dust while
working with the resin components then it’s a really good idea to follow
the normal hygiene rules by not eating or smoking around the dust, wear
a suitable mask or use water to keep the dust from becoming airborne (you don’t need to sand under water, just keep the surface wet while you
sand) and, of course, make sure you use a wet & dry type sandpaper
or metal file. The dust itself isn’t toxic but getting any particulate,
especially a hard particulate, in your airways and lungs is never a good
thing to do. Finally, when you’ve finished creating the dust clean up
your work area of all that dust, so that it doesn’t spread further onto
you, your kids or pets and other toys ‘n things, and wash your hands.
Left: Safety first.
|
Now you’re going to want to attach those lovely plastic parts to the
main resin parts of the tanks. Check to see if the fit is good before
reaching for the glue, there may be some adjustments needed to ensure a
nice fit, and with all multi-media models don’t be afraid to trim a bit
here and there to get it all working together properly. If the tracks
sit with a small wobble on a flat surface, for example, then don’t be
afraid to trim a bit off the top of the plastic side plate to make it
fit better. I suggest that if some removal of material is needed to
make a good fit, that you try and do it to the plastic before the resin;
it’s just easier to shave off plastic rather than the resin.
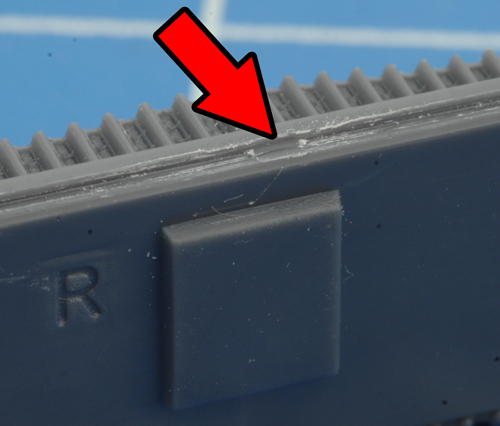
Right: Make sure you remove all of the feed tabs to ensure a correct fit. |
|
 |
|
As for glues you can’t use polystyrene cement for this particular job; you’ll need either Cyanoacrylate, known as Superglue, or an epoxy adhesive like Araldite. These two glues will adhere almost any material together and both have strengths and drawbacks. The Epoxies
usually have more strength but take a while to dry whereas the Superglues dry quickly, especially with accelerators, but have with slightly lower
bond strength. Most people tend towards the Superglues for ease of use
and I’ve found that using cheap brand glues will give you cheap results
so I’d recommend sticking (pun intended) to the better known brands like
the GF9 super glue.
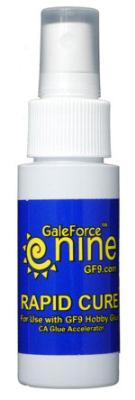
Left: GF9's Hobby Glue and Rapid Cure.
|
Tip: If you get into trouble with Superglue and need to remove a part once the glue has set then, using an old paintbrush, just brush acetone-based nail polish remover onto the joint and it will quickly turn gooey and loosen its grip. Don’t immerse the tank though; just keeping the joint wet with the paintbrush is enough. The acetone in the polish won’t harm either resin or plastic but it won’t be good for paintwork and you’ll end up having to touch that up if you go with this technique. Also be careful as it’s very flammable and a bit funny; on the plus side your tank will smell nice afterwards.
|
Join me again next time as I explore the nature of the metal components used in creating Flames Of War miniatures.
~ Evan.
|
 |
Last Updated On Thursday, August 23, 2012 by Blake at Battlefront
|
|
|