|
|
|
|
Products mentioned in this Article
--None--
|
|
|
|
|
|
|
|
|
 |
|
|
 |
Battle Report
Scenario “The Battle For Easy Green”
pages 26-29 Bloody Omaha.
The fight for Easy Green was a difficult one for the men of the 29th Division and the scenario in Bloody Omaha reflects this. If the Americans achieve an easy victory things have gone very well!
Commanding the US forces: Dale
Dale's Preamble
With the troops available to me I want them to arrive a certain way at the start of the game:
Wave 1: 3 Boat Sections, 1 Engineer Combat Platoon and the Sherman DD tanks. The last two to arrive on the right flank;
|
|
Wave 2: 2 Boat Sections, 1 Anti-aircraft Artillery (Self-propelled) Platoon, and the Field Artillery Battery, which is stay in its landing craft and provide support from the sea;
Wave 3 & up: 1 AA platoon (if not arrived already), the last Boat Section, and any recycled Boat Sections.
The overall plan for the battle is to flame the trenches, use the 60mm mortars to suppress the bunkers and then assault with the infantry to clear out the fortifications. The engineers will clear the anti-tank obstacles for the tanks to advance to the rear objective.
Commanding the German forces: Mike
Mike’s Preamble
My overall battle plan was simple as my forces were limited. I was expecting wave after wave of landing craft to land in front my forces, but my first primary target would be the American engineers. They threatened my minefields and anti-tank obstacles, which were vital in stopping the DD tanks. The focus of the rest of my firepower was on the boat sections, so I could pin them and slow their advance. As a bonus if I could pick off any DD tanks this wouldn’t hurt.
The Battle begins...
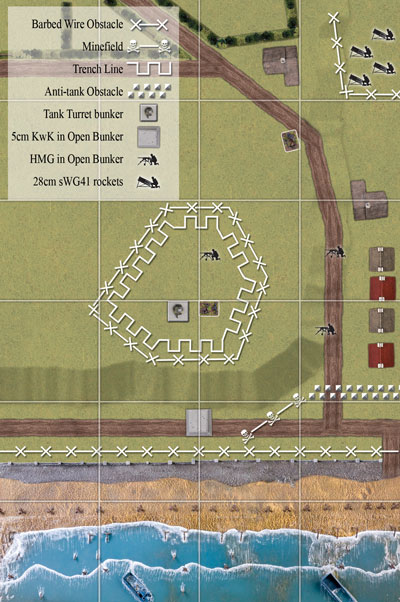
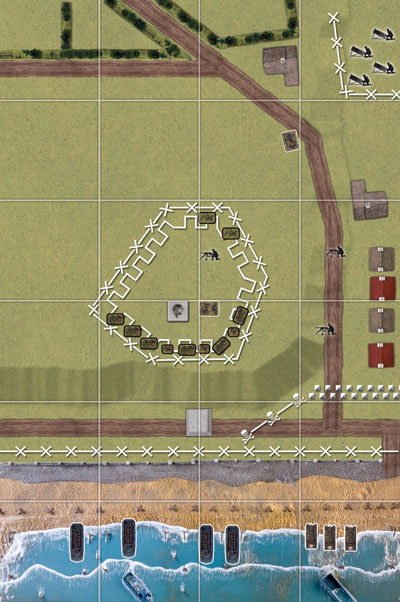
On the night of June 5 the men of the 29th Division wait off the Normandy coast ready to be loaded into their landing craft.
|
 |
 |
Tension among the men had been heightened with a days delay in the invasion due to bad weather, and now the seas were still troubled.
Their training had been hard and intensive. Theirs' was a unique role, they had undergone reorganisation especially for the beach assault, equipped with flame-throwers and Bangalore Torpedos for clearing strong points and obstacles, each Rifle platoon has been split into two boat sections to fit into the LCVP landing craft. Each boat section now operates as a platoon.
The men of the 2nd Battalion, 116th Infantry Regiment launch from their support ships and head for their target beach at dawn, June 6. Heavy seas and a strong crosscurrent sweep their LCVPs along the coast. Instead of coming ashore at Dog Red beach as intended the men of Fox and George company find themselves ashore at Easy Green, a more heavily defended sector of Omaha Beach.
Defending the beach are the men of the 5. Kompanie, 916. Grenadier Regiment, 352 Infanteriedivision, a new formed, but well trained, unit built around and core of veterans of the Ostfront.
As the Boat Sections struggle ashore they realise they are on the wrong beach. Then the battle begins, and a hail of machine-gun and gun fire rains down on them from the bluffs above…
|
|
Turn 1
US forces
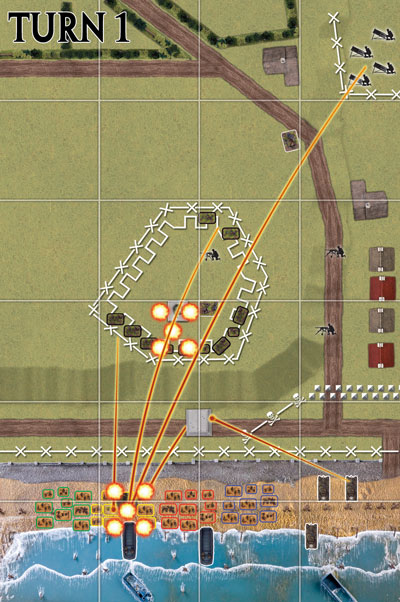
Preliminary bombardment pins the German forces, but unluckily manages not to destroy any teams.
The first wave of landing craft consists of three Boat Sections (1, 2 and 3) and the Engineer Combat Platoon. The Sherman DD tanks accompany them, unfortunately one of the Shermans is swamped while disembarking from the landing ship out at sea and only three tanks swim ashore. A little further up the beach two of the Shermans become bogged down in the soft sand (the beach is considered Difficult Going).
After the infantry unload the landing craft endeavour to return to the support ships to retrieve more platoons. Two of the landing craft become beached and can’t return to the flotilla for more troops this turn.
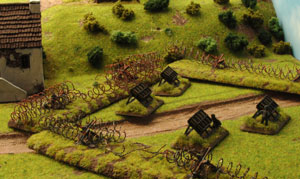
A naval observation plane buzzes the battlefield and picks out a target for the heavy guns of the fleet. A barrage falls on the Germans positioned inside WN66, but the bunkers and trenches shelter the Grenadiers.
|
 |
|
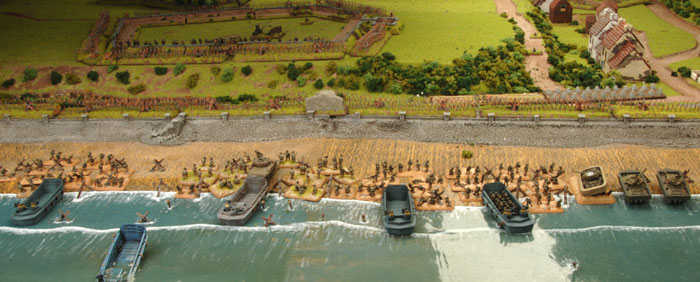
The one operating Sherman fires on the forward bunker on the seawall, but though hitting it, fails to upset those operating the gun inside.
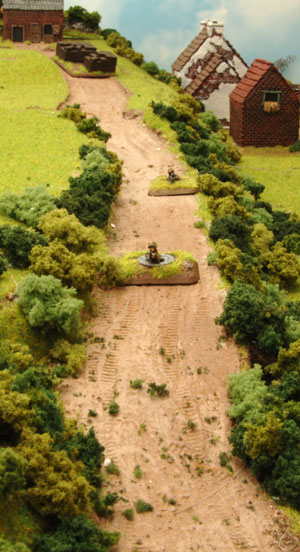
Dale’s Player comments: Hitting beach went well. There was little drift, no landing craft missed the beach. However my troops took intense Germen fire from the top of the bluff.
|
 |
German Forces
The Grenadier platoon and bunkers recover from being Pinned Down by the Preliminary and Naval bombardments.
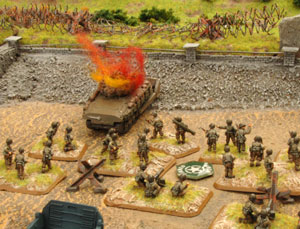
The Company commander pops his head above the trench line and calls down the HQ’s two mortars on the engineers. Their fire is joined by one Static Rocket Launcher and the Grenadier Platoon. The engineers are easily Pinned Down and three Bazooka teams are destroyed. The front 5cm KwK bunker fires on the Sherman Dozer of the Engineers, hitting and penetrating it twice. The Dozer bursts into flame. One tool in the Engineers toolbox has been eliminated.
|
|
Turn 2
US Forces
US forces are further reinforced with the arrival of another two landing craft, Boat Section 4 and the Artillery. The Field Artillery Battery remains in its landing craft and sets-up to fire from the sea.
The vitally important engineers remain Pinned Down, despite encouragement from the Company Commander. However one of the Bogged Down Shermans gains some traction and fights its way out of the sand.
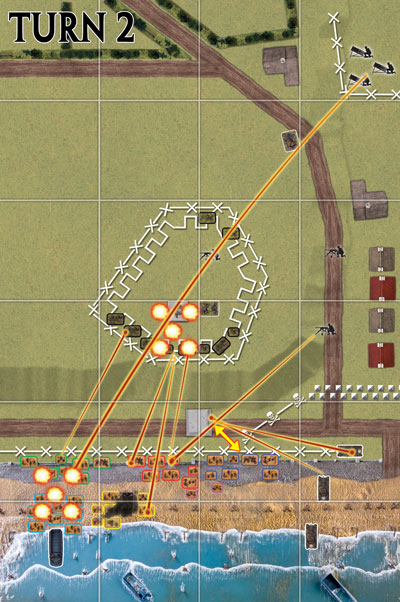
The two operational tanks advance to the beach flank to take advantage of a boat ramp gap in the seawall to get off the beach and gain access to the entrance to the draw. Unfortunately the Germans have cunningly placed both a minefield and anti-tank obstacles across the entrance. The remainder of the US forces advance up to the seawall, and prepare to clear wire and storm the first fortifications.
|
 |
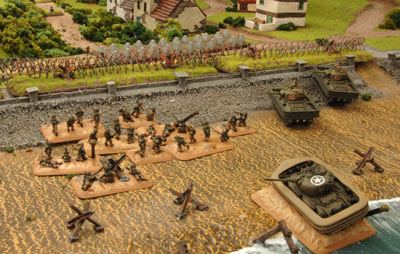 |
Once more the air observer calls the Naval guns down on the defensive positions inside WN66. The thundering bombardment again pins down the Germans, but causes not other casualties.
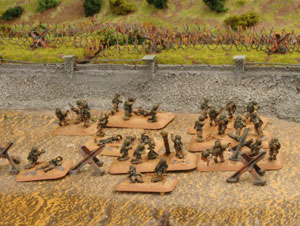
The Sherman DD tanks fire on the forward 5cm KwK bunker and pin the crew down. The advancing Boat Sections fire on the Grenadiers in the trenches and knockout one Grenadier MG team with one of their 60mm Mortars.
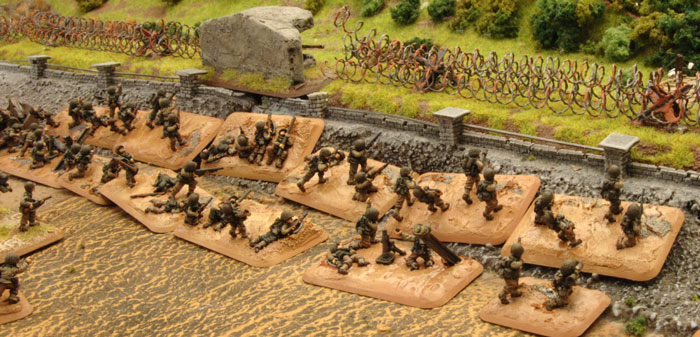
Boat Section 2, decides not bother with clearing the wire and instead storms through it and assaults the 5cm KwK bunker.
|
Two teams make it through the wire (requiring Skill tests), but a hail of fire from the bunker and supporting HMG bunkers pins the daring Americans and their assault fails. They lose two teams in the process.
Dale’s Player comments: A New wave hits beach and bunches up behind the first, forming tasty artillery targets (my first mistake). The engineer platoon in centre of table takes heavy fire and losses three teams and the Sherman Dozer (my second mistake as the Dozer is the only thing that can gap the anti-tank obstacles). |
 |
 |
German Forces
The crew of the bunker recover from the recent excitement and knuckle down to hold off the invading forces. The Grenadiers on the other hand find the bottom of their trenches much safer, even after some encouraging words from their company commander.
The 5cm KwK bunker fires on the DD Shermans, hitting but failing to get the shot pass their armour. The HMG Bunkers and Mortars fire on Boat Section 1 and knockout one Rifle team. Another Static Rocket Launcher fires on the beach, this time getting both Boat Section 3 and 4 under its barrage. Boat Section 4 escapes losses, but Boat Section 3 loses two teams. The Grenadier split their fire between the engineers and Boat Section 1. They knockout one Bazooka team from Boat Section 1 and a Pioneer Rifle team from the Engineers. Boat Sections 1, 3 and 4 are pinned down, as are the engineers.
|
|
Turn 3
US forces
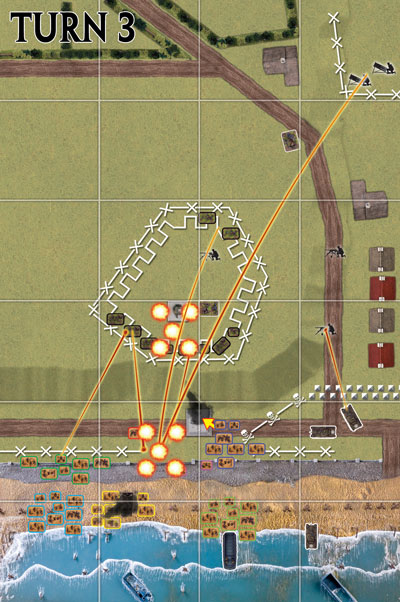
A lot of yelling and shouting can be heard during the occasional breaks in the machine-gun fire as the NCOs and officers get the men of the Boat Sections moving again. Boat Sections 1, 2 and 4 un-pin. The engineers and Boat Section 3 however cling tenaciously to the sand and refuse to advance. The bogged down Sherman sits stationary on the beach and the crew work frantically to dig it out of the hole it has made for itself.
Two more landing craft attempt to land, one makes it ashore with Boat Section 5 aboard, but the second (with the Anti-aircraft Artillery) aborts its run and will attempt again next turn.
The naval gun support isn¹t available this turn.
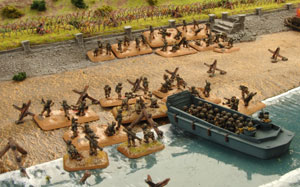
|
 |
|
|
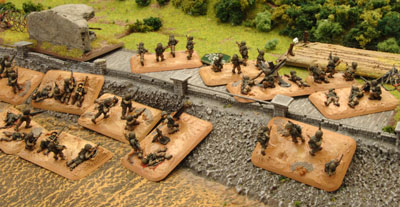
Rather than firing this turn Boat Sections 1 and 2 are attempting to gap the Barbed Wire on either side of the 5cm KwK bunker. Both make successful Skill tests and a path is cleared through the wire.
The Sherman DD tanks concentrate their fire on the HMG Bunkers positioned along the edge of the bluff. They knock out the front position with their main guns and pin down the rear bunker. The 60mm Mortars of the Boat Sections all concentrate their fire on the Grenadiers in the trenches of WN66, but fail to dig them out of their positions.
|
|
The artillery bobbing up and down out at sea fire a barrage on the Grenadiers. They pin down the Germans, but once again their excellently constructed trenches protect them from the barrage.
Boat Section 2 assaults the 5cm KwK bunker again, and this time defensive fire doesn¹t pin them and they close for the kill. A few grenades and the bunker is knocked out!
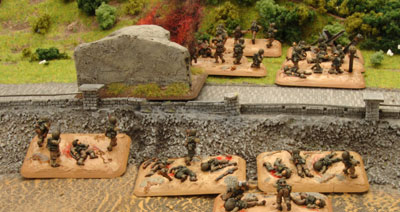
Dale¹s Player comments: The Shermans suppress the bunkers at the base and top of bluff.
|
|
|
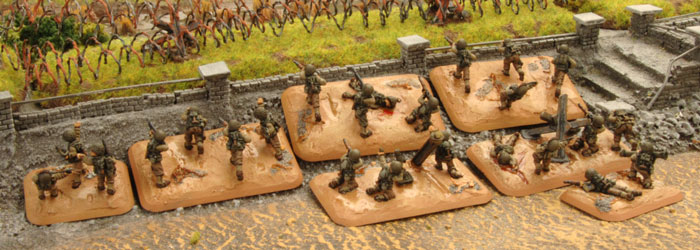
The Boat Sections start gapping barbwire on sea wall, while the naval bombardment keeps the German heads down on top of bluff.
|
 |
|
German forces
Despite frantic calls to the battalion HQ the promised German reserves are yet to arrive. The Grenadiers and pinned HMG bunker manage to rally and continue to fight on.
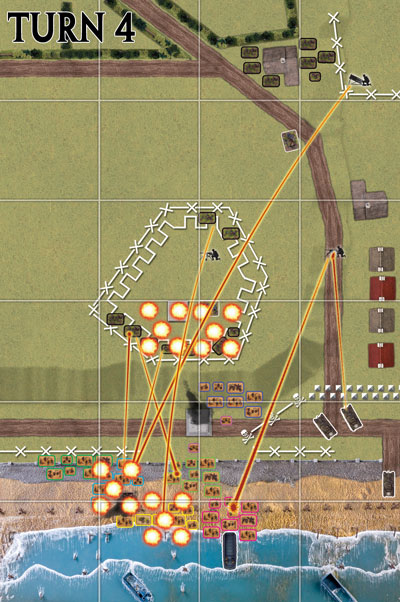
Another Static Rocket Launcher unleashes a barrage on the Americans. This time their target is Boat Section 1; the Mortars and Grenadiers join them. The combined fire pins and destroys six teams, including the platoon command. This forces them well and truly under half strength. Amazingly Boat Section 1 passes its Motivation test.
Mike¹s Player Comments: The first two turns went well. One tank was swamped and another bogged down on the beach. I concentrated my fire on the engineers and knocked out their dozer tank and a large number of the pioneer teams. Things slowed after that, the engineers stubbornly refused to fail a moral check, then went to ground and hung on. On the other hand the mortars and rockets did a fine job of pinning the American infantry down and slowing their advance.
|
 |
Turn 4
US forces
US commander Dale decides that discretion is the better part of valour and withdraws the remainder of Boat Section 1 to the beach where they return to the flotilla to be replaced by a fresh Boat Section (7).
The landing of the Anti-aircraft platoon is post-poned again and will attempt to land next turn. However, Boat Section 6 lands ashore with out problems. Boat Section 3 and the Engineers fail to rally from pinned again! The third Sherman DD tank's crew finally manage to get their tank moving again advance towards the beach exit.
The observation plane for the Naval fire returns over the battlefield and begins searching for targets.
|
|
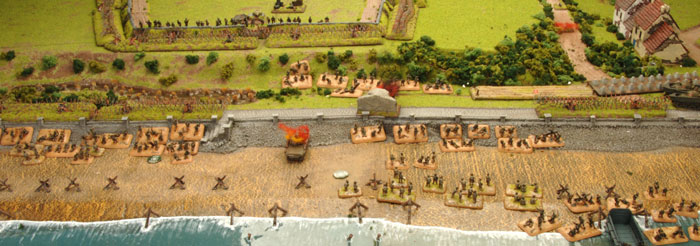
Boat Section 6 unloads behind Boat Section 5 and advances up the beach. Boat Sections 4 and 5 move up to the seawall and wire.
The DD tanks fire on the remaining HMG bunker on the bluff top and fail to cause it any trouble. The Artillery, Naval guns and Boat Section 4 fire on the Grenadiers and Bunkers of WN66, pinning the Germans, but causing no casualties.
Dale¹s Player comments: Once the barbwire was gapped the 60mm Mortars pinned the bunker, then a boat section assaulted. They then consolidate at base of bluff. The Shermans take on the open top HMG bunkers on my right flank destroying one and pinning the other.
|
 |
|
German forces
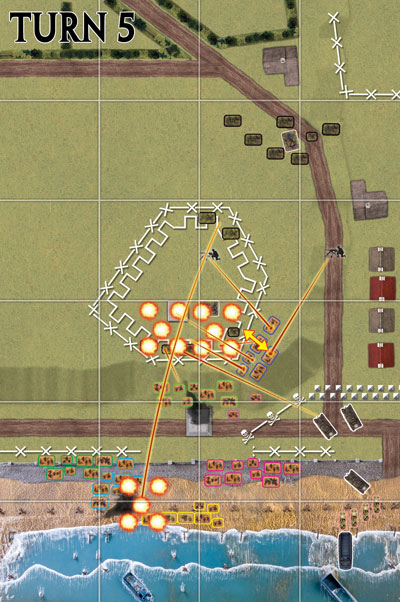
Finally the reserves have arrived and the 2nd Grenadier Platoon advances onto the table and head towards the rearward objective (The US force must take both objectives by the beginning of turn 12 to win the game).
The German mortars fire on the US engineers who, despite their pin status, have been creeping along the beach (Pinned Down platoons can move as long as it is not bringing them closer to any enemy platoons). Though pinning them again (which has no further effect) they don¹t cause any casualties.
|
 |
|
The last Static Rocket Launcher lets rip its pod of 28cm rockets on Boat Section 4. They are joined by some of the Grenadier teams. The combined fire pins the Americans and destroys a two teams.
The remaining Grenadiers fire on Boat Section 5 along with the Tank Turret bunker positioned with them in WN66. They knock out one team. The HMG bunker on the bluff edge fires at Boat Section 6 on the beach, with no noticeable effect.
Finally the 2nd Grenadier Platoon Stormtrooper moves closer to the objective.
|
 |
Turn 5
US forces
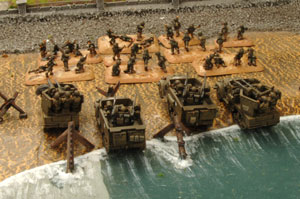
Boat Sections 3 and 4 and engineers remain Pinned Down from the previous turn, but Boat Section 5 rallies. The Naval gun support fire is available once again.
The Anti-aircraft platoon finally lands on the beach, but choppy seas force Boat Section 7 to attempt again next turn.
Once again the fire is concentrated on the primary focus of the assault, the fortifications of WN66. Both the Naval and Artillery fire are dropped on the positions of the 1st Grenadiers and Tank Turret bunker. The Flame-thrower
team of Boat Section 2, Boat Section 5, the AA and tanks lend a hand. The Grenadiers lose 3 teams, forcing them below half strength. With grim determination the Grenadiers hold on.
|
|
Boat Section 2 launches an assault through the wire. Each team must make a skill test to make it through; unfortunately none of the American teams make the test.
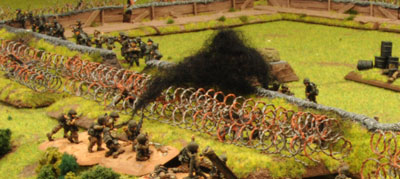
Dale¹s Player comments: The Boat Section on the bluff waits for more support before advancing over the top. (My third mistake, you don¹t really have time in this scenario for this kind of thing).
|
 |
|
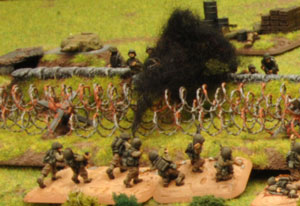
The Beach is starting to clear. The Naval shelling is going well, slowly removing defenders. A General advance with all boat sections onto the bluff should see me come to grips with the enemy soon.
|
 |
German forces
The 1st Grenadier Platoon has taken a beating this turn and unsurprisingly fails to unpin. The 2nd Grenadier Platoon continues to advance on the rear objective.
The Mortars of the company headquarters drop a barrage on the engineers, which also strikes Boat Section 4. Both platoons are hit and become pinned (though the engineers are already pinned). The tank turret bunker fires on Boat Section 2 and is joined by pinned Grenadiers and the HMG bunker inside WN66. Their combined firepower pins the American platoon and destroys one team.
|
|
The 2nd Grenadier Platoon Stormtroopers on to the objective at the rear.
|
|
Turn 6
US forces
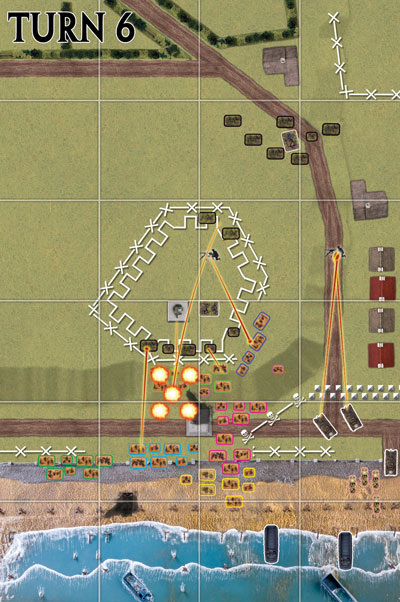
Boat Sections 2, 3, 4 and the engineers all un-pin. Unfortunately for the American commander no further reinforcements from the sea arrive to aid the attack.
Despite several calls on the HQ radio, the supporting Naval fire is unavailable for bombardment this turn and the attacking Assault Company must push on without the aid of the navy.
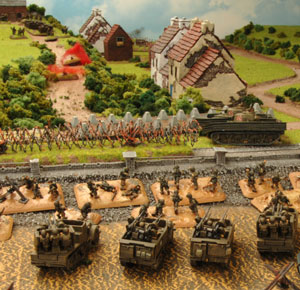
Despite spending all that time digging their tank out of the beach the third Sherman DD manages to bog itself again as it attempts to exit the defile off the beach through the seawall.
|
 |
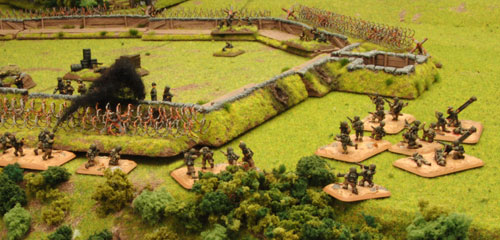 |
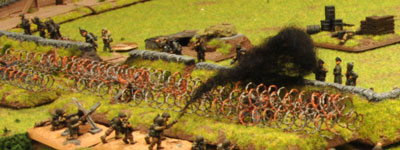
Boat section 5 approaches the front trenches of WN66 and opens fire with its flame-thrower team and takes out the German Company Commander. Their fire is joined by Boat Section 4 who fire on the Grenadier Platoon with no further effect.
Boat Section 2 and 3 go about clearing the wire in front of their positions. But delay any assault until next turn.
|
|
The German 1st Grenadier Platoon has taken further casualties this turn and is force to make a Motivation test. They pass and prepare themselves to see off the next wave of attacks.
Dale¹s Player comments: Most of my Boat Sections advance to the top of bluff and open up with flame-throwers at the German infantry, 60mm Mortars fire on the bunker at the top.
The engineers unpin and start moving towards anti-tank ditch (Mistake 4, they can¹t actually gap it without the dozer, and this scenario doesn¹t allow the engineers a supply truck).
German forces
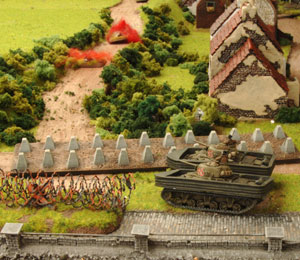
The 1st Grenadier Platoon un-pins and realising the coming onslaught braces itself.
|
 |
 |
The 2nd Grenadier Platoon now in control of the rear objective sets about digging themselves in.
The HMG bunker inside WN66 opens fire on Boat Section 2 and knocks out a team. The 1st Grenadiers, Company HQ, Tank Turret bunker and Mortars all concentrate their fire on the threatening Boat Section 5, pinning them and destroying one Bazooka team.
|
Last Updated On Tuesday, June 26, 2007 by Wayne at Battlefront
|
|
|