|
|
|
|
Products mentioned in this Article
--None--
|
|
|
|
|
|
|
|
|
 |
|
|
|
|
D-Day Queen Red Sector - Sword Beach Wargaming Table
with Kevin Russell
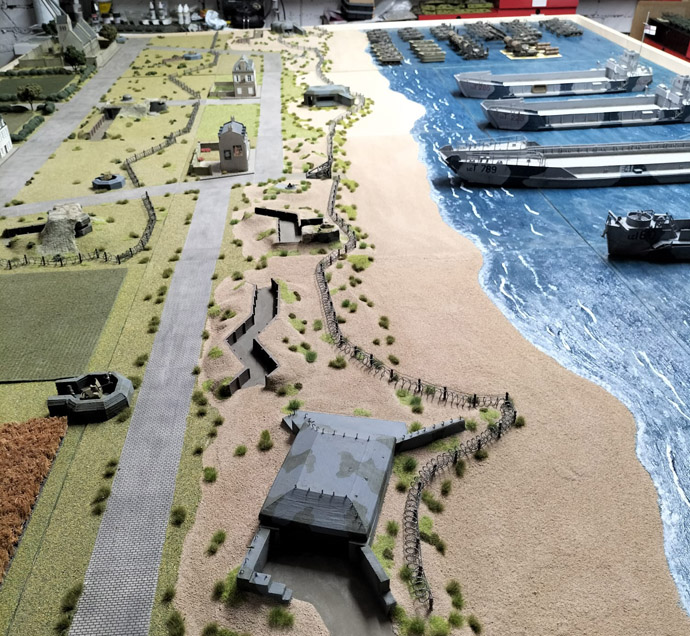
Over the years our fans and gamers have always amazed us by the work and passion put into the hobby. Sometimes we get the opportunity to dive deeper into the insights of fellow hobbyists and their creative process. This time, we take a look at an awesome wargaming table constructed by Kevin Russell!
|
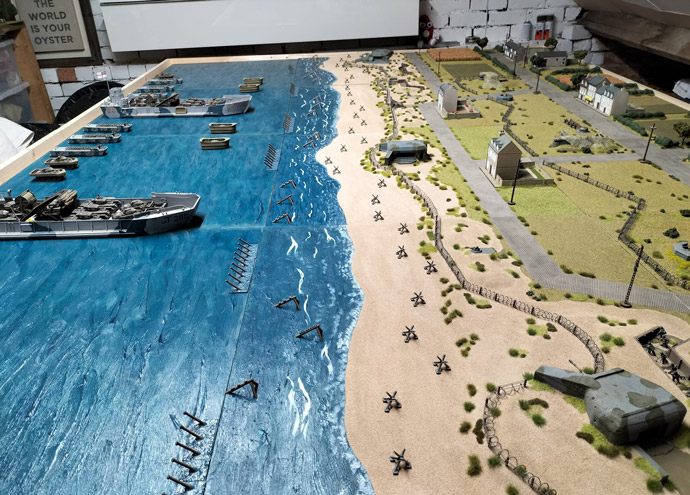
| Inspired by the Flames Of War range of miniatures and his background as an ex-infanteer serving in the British Army (From 1972 - 1978), Kevin felt that to do the models justice he would have to make the terrain do them justice. Through several visits to the historic battlefield of Normandy over the years and his experience in the British Army, Kevin has constructed an epic wargaming table based on his unique perspective of the Normandy battlefield. |
|
Main Construction
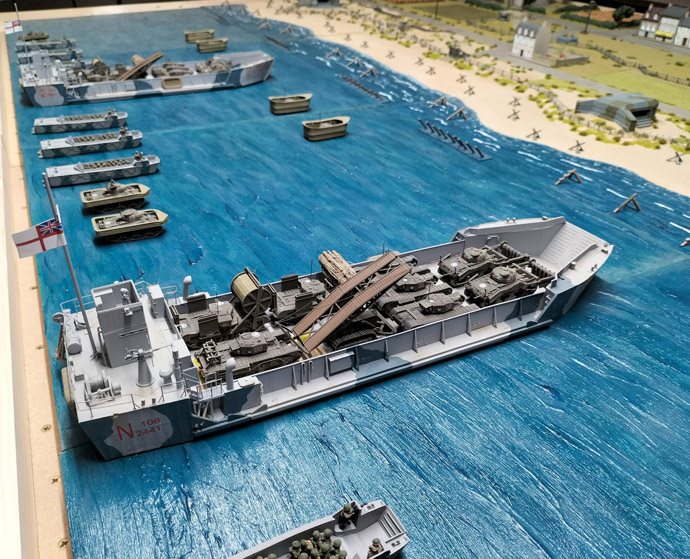
For the main construction of the table, Kevin used wooden boards cut to 600mm x 600mm. These were kindly cut by the local DIY store.
Ground level boards were topped with 12mm MDF and edged with 25mm x 15mm battens secured with quality PVA glue. This was then clamped to allow for drying.
Sea level boards were topped with 6mm MDF and then edged with the 25mm x 15mm battens.
|
 |
|
Beach and Dune
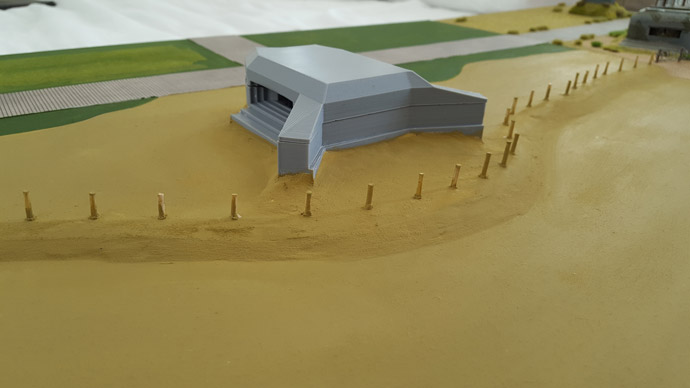
The dunes are created using polystyrene and filler. Once dried they are sanded before cutting out the trenches with a really sharp craft knife. The trenches were then lined with balsa wood strip and balsa wood posts added using PVA to secure before painting. Several tobruk MG pits where then placed around the dunes.
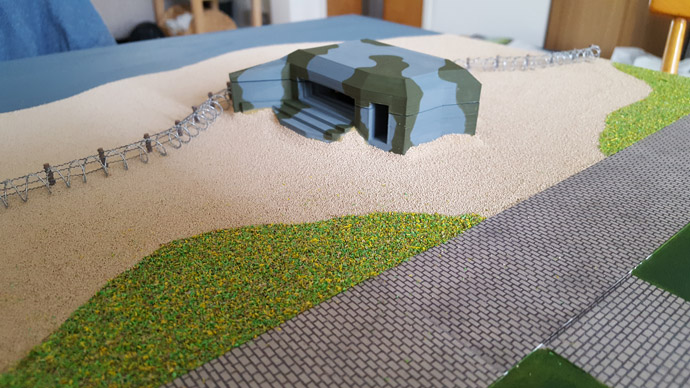
The next stage was deciding where the larger gun bunkers would be placed. These were dry laid to experiment with the look and feel before finally gluing into place. Polystyrene and filler were then used to blend the bunkers with the dune and soften the profile a little.
Once the main bunkers and other fixed defensive structures were in place, it was time to place the posts in for the barbed wire. Using cocktail sticks cut to 16mm length were then placed into holes drilled into the board and glued with PVA.
|
|
|
|
Dressing It Up
With the foundations laid, it was then time to dress the board up. Coastal buildings and villas were placed while gardens with walls were created using commercial products. The beach was dressed with Woodland Scenics fine buff ballast while the grassy areas were dressed with Jarvis No 71 spring mixture flock along with various foliage cluster products. These were secured using thinned PVA and resealed with a further coat of thinned PVA before being left to dry for 24hrs or more.
The next step was to finally string the barbed wire to the painted posts. Using a strong but fine tweezer, the wire was secured to the end post with super glue, before being wrapped once around each post. Adding a drop of glue along each connected post helps to ensure a good fix. The barbed wire coils were created by wrapping barbed wire around a 10mm wooden dowel, attaching the main fence with super glue and a few ties of very fine 5 amp fuse wire secured with super glue.
|
 |
|
Final Steps
To begin wrapping things up, the bunkers were painted weathered.
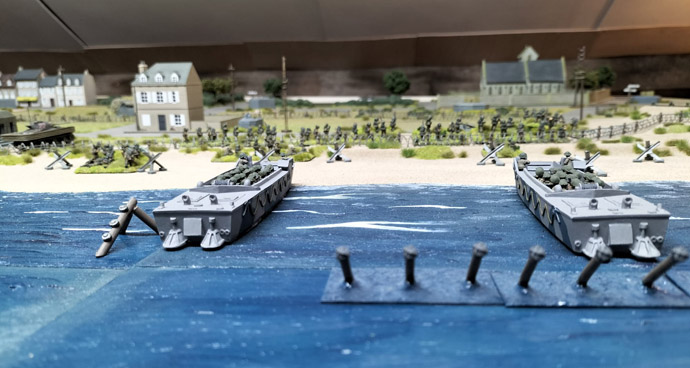
The sea base boards were based in a medium blue colour and left to dry before applying two or three coats of Vallejo Acryllic Water Texture - Atlantic Blue (26.204). This thick gel allows you to slowly build layers, creating larger waves the more layers you add. The surf zone was created using Vallejo Water Texture Foam Effect (26.231) which turns white when dry. This is placed on wave tops and stippled on at the very edge of the sea where it meets the sand.
Once everything had dried, the boards would be given several coats of protective ultra matte varnish to seal everything in place, except the sea boards (matte varnish would effect the glossy finish on the water effects).
|
|
With that we wrap up the showcase of this amazing wargaming table!
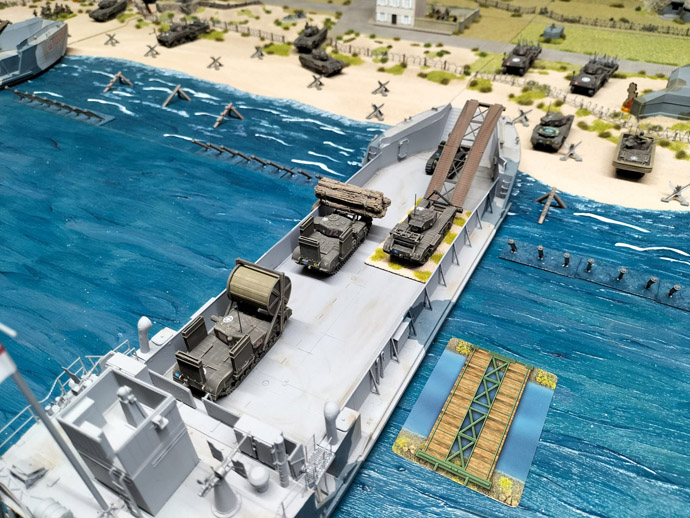
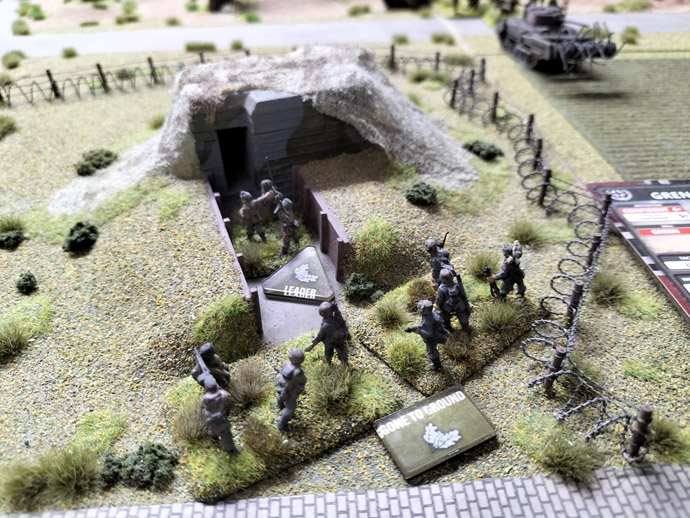
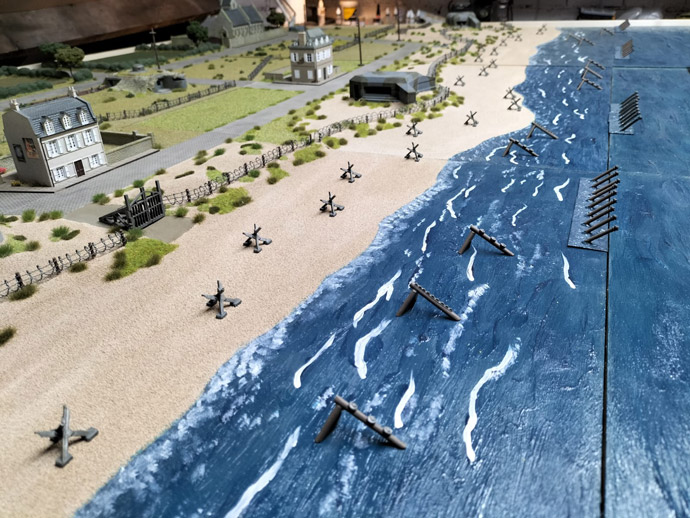
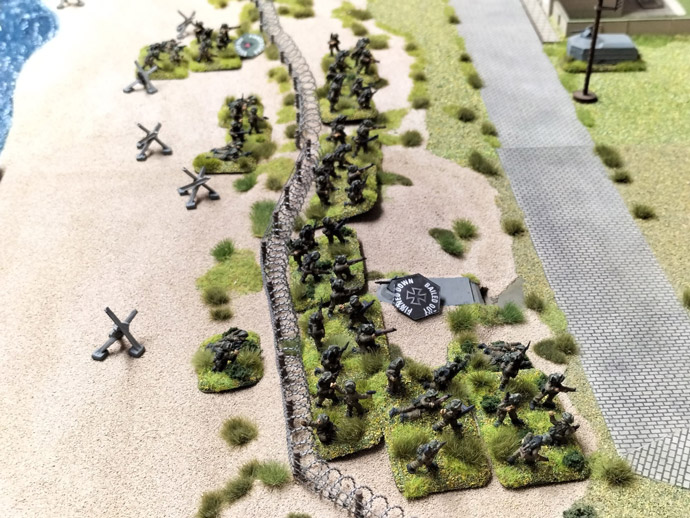
Big thank you to Kevin Russell for sending us his work and sharing the passion for this hobby. We hope this inspires more hobbyists for future projects! To cap things off, take a look at some photos of the table in action!
|
 |
 |
 |
 |
 |
Last Updated On Monday, July 15, 2024 by Kevin
|
|
|