|
|
|
|
Products mentioned in this Article
--None--
|
|
|
|
|
|
|
|
|
 |
|
|
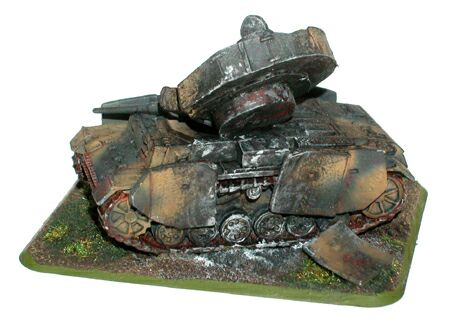 |
Burntout tanks as objectives
By Richard Carlisle
The idea for a model to represent our objectives had been bandied around our group several times in the past but with our focus on painting our new FoW armies we just put it to one side.
I’d just finished my first 1500 points of tanks for the Eastern front games we were planning, when some major inspiration occurred. It came in the form of a magazine article in Monograph No.7 euro modelismo "Rarities".
|
|
It has a fantastic article on modelling blown up tanks, & the work
of ’Miguel Jiménez’ is awesome! I had to have a go, so I grabbed my
knife and a spare tank and set to work.
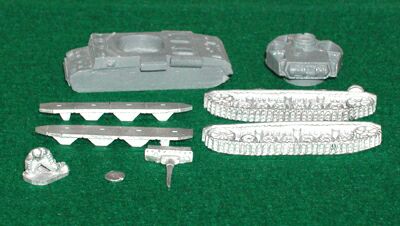
I converted a spare Panzer III L (GE036) that came with side skirts, as this is the major component of my current force. Pretty much the final objective model is straight from the pack.
I started by gluing the tracks in place, then with a pair of cutters I carefully bent some of the side skirt panels at their edges, removing a panel adds to the effect.
|
 |
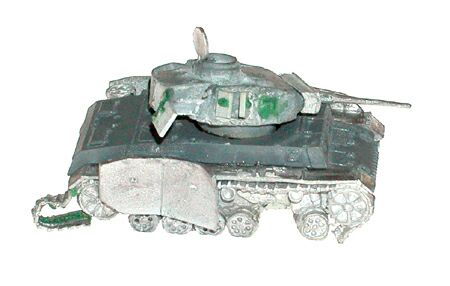 |
To really show it off as a dead tank I over emphasized the turret angle when I glued it in place and left the hatch open, flapping in the breeze.
Left: This is another Panzer III L Richard is working on, he has added a little more damage to this model.
To make it a bit more robust I made a scenic base from a FoW artillery base and some ready mixed filler.
I also added some detail to this with the spare panel I had cut off earlier and a casualty to be rescued.
|
|
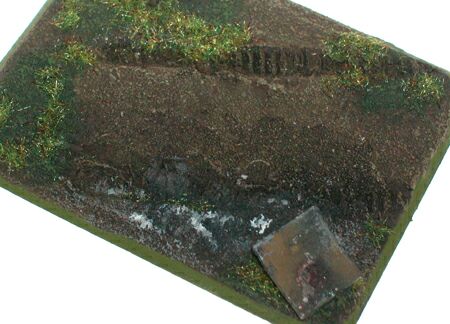
A nice extra feature is to add tread marks, to do this you cover the base in filler, wait until the filler is partially dry then press into it with your tank.
Carefully remove the tank and let the paste dry fully (you can cheat and get your girlfriends hair dryer out to speed things along).
Right: The Track marks show clearly on the finished painted base.
|
 |
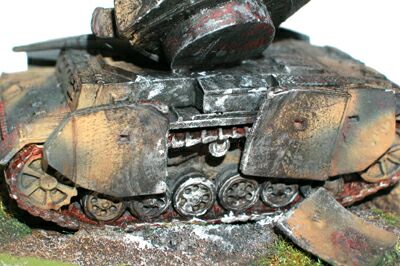 |
Now for a quick paint job, I followed the theme of my army, and finished it off with the burnt out effect.
To get the burnt metal effect I tried a dry-brush of black, grey, and finally white around the edges. This continued on to the base with the burnt grass.
Enjoy!
Richard Carlisle
|
|
How to build dioramas - by Sheperd Paine
|
Military modelling Vol.32 No.7 June/July2002 page 34 - by Rob Plas
|
Monograph ’euro modelismo’ "Rarities" - by Miguel Jiménez
|
Last Updated On Friday, May 16, 2008 by Wayne at Battlefront
|
|
|