|
|
|
|
Products mentioned in this Article
--None--
|
|
|
|
|
|
|
|
|
 |
|
|
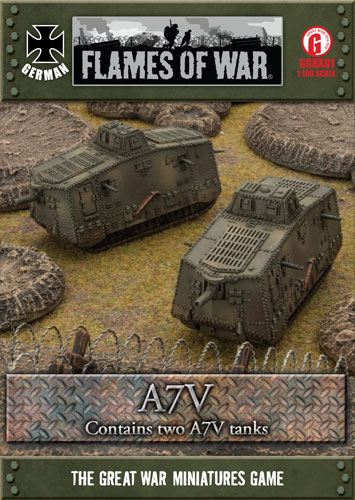 |
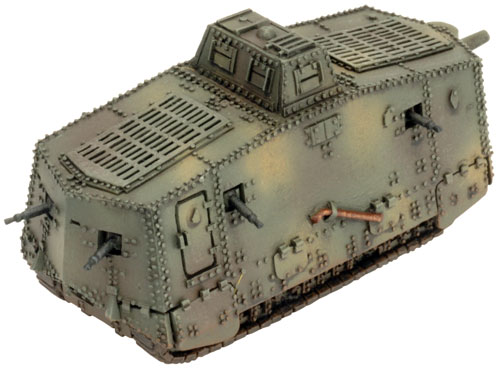
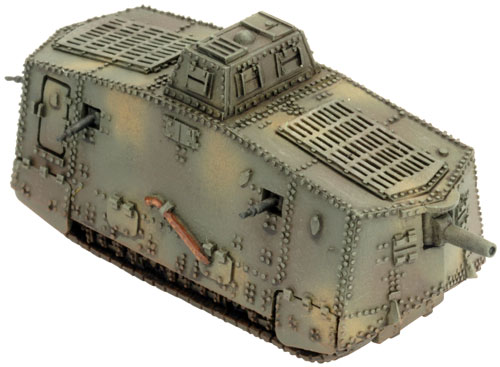
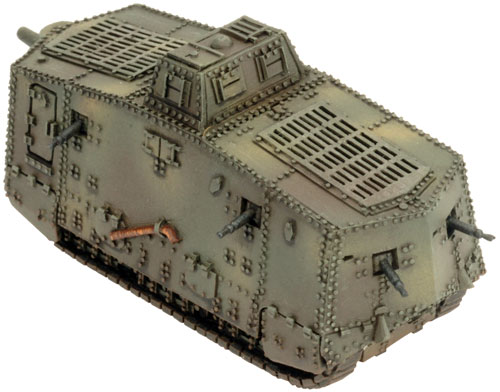
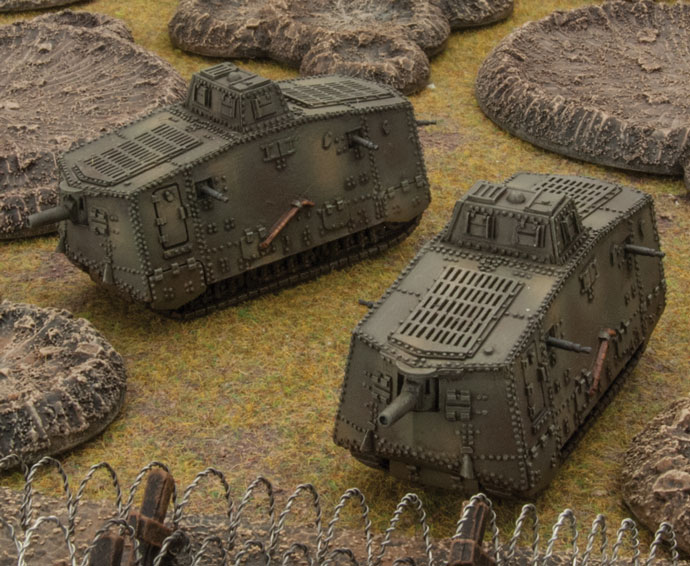
A7V (GGBX01)
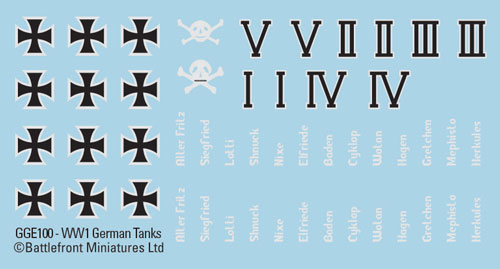
includes two A7V tanks & one German World War One Tank Decal sheet.
The Germans began exploring the possibility of developing their own armoured vehicles soon after the first encounter with British tanks in September 1916. However, the process was slow and clearly had lower priority than the British and French efforts.
The A7V committee oversaw development of a German-designed tank, and by the end of October 1916 they had developed the specifications for the tank. The initial design and plans were completed by December 1916, but were revised in February 1917 to incorporate the updated specification of 30mm of frontal armour plate.
Check out the A7V in the online store here...
|
Great War
The Great War of 1914-18 was global in its reach. Yet this global conflict would be decided by the mighty clashes upon the battlefields of Europe.
Learn more about Great War here...
|
 |
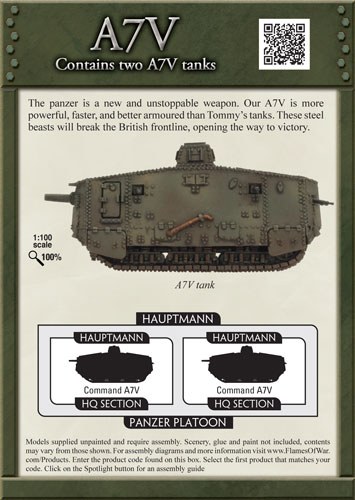 |
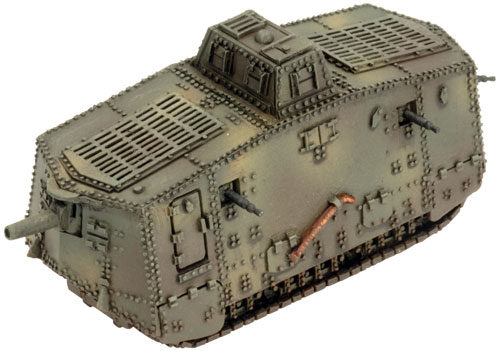
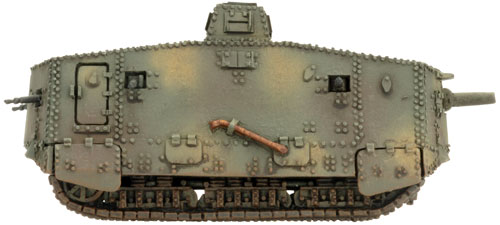
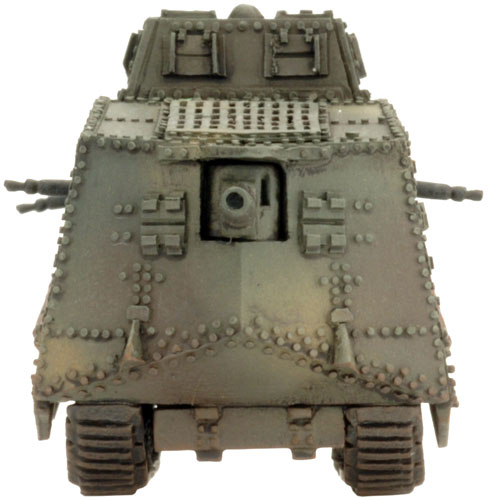
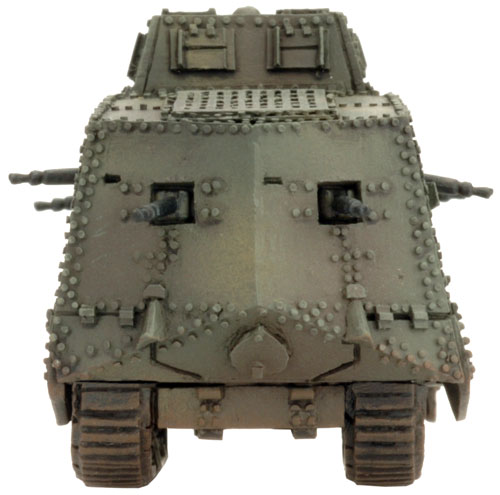
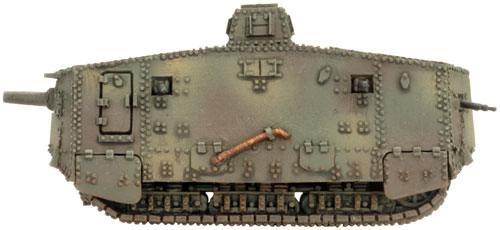
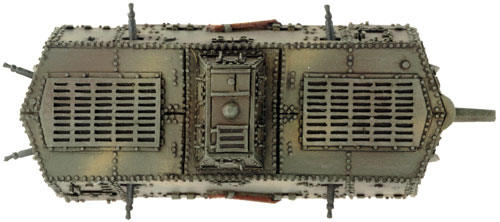
The resulting A7V tank was a 24’ by 10’ (7.3m x 3m) box with two track units slung beneath the fighting compartment. Armour thickness was 30mm on the front, 15mm on the sides, and 20mm on the rear. Armament consisted of one 5.7cm Maxim-Nordenfelt gun facing front and a total of six Maxim machine guns arrayed around the sides and rear.
Two 100hp four-cylinder engines powered the tank giving the vehicle a reasonable power to weight ratio for the time. The caterpillar track system of the A7V also had one key advantage over its Allied contemporaries-the A7V utilized a spring loaded suspension system rather than the crude un-sprung systems found on Allied tanks. This gave the A7V a speed of roughly 8 mph on flat ground, making the German heavy tank roughly as quick as the British Whippet or nearly twice as fast as the Mark IV.
|
| As with all early tanks, the A7V had its share of problems. The engines tended to overheat and were difficult to start, the gearboxes were fragile, the tracks were weak, and even the armour plate had severe variations in strength and thickness. The A7V required a crew of 18 to operate properly, though 12 members of the crew were responsible for the six machine guns in two man teams. Trench-crossing ability and ground clearance were inferior to many of the Allied tanks resulting in the A7V frequently bogging down in soft terrain. |
|
The A7V is also available as part of Biltz's Battlegroup, click here to learn more...
|
| The A7V in Great War |
| |
|
|
Armour
|
|
|
| Name |
Mobility |
Front |
Side |
Top |
Equipment and Notes |
| Weapon |
Range
|
ROF
|
Anti-tank
|
Firepower
|
|
|
A7V
|
6"/15cm
|
2
|
1
|
1
|
Four Side-mounted MG, Two hull-rear MG, Landship, Mobile fortress, Overloaded, Self-defence MG. |
5.7cm Maxim-Nordenfelt gun
|
24"/60cm
|
2
|
6
|
4+
|
Hull mounted. |
|
 |
 |
|
Production of the A7V tanks was painfully slow. Although the Germans placed an order for 100 vehicles, the first vehicle was not delivered until 1 October 1917. By the end of the war only 20 were produced requiring the Germans to rely on captured British and French tanks for much of their armoured strength.
|
 |
 |
The A7V first saw combat on 21 March 1918 where 1. Abteilung (or ATD 1) stopped a British advance with three A7V.
Perhaps the most famous engagement involving the A7V was on 24 April 1918 at the Second Battle of Villers-Bretonneux. Three British Mark IV tanks (one male and two female) engaged a total of three German A7V tanks in history’s first tank versus tank engagement. The A7V ‘Nixe’ (mermaid) engaged the Mark IV female tanks and heavily damaged them with its 57mm gun. As their machine guns were ineffective against the German tanks’ armour, the female tanks limped away.
|
 |
 |
The remaining Male tank (interestingly Number 1 tank of Number 1 section of A Company of the British 1st Battalion) opened fire on the German behemoth with its six pounders disabling it. With its crew in retreat, the male was joined by several Whippet tanks and engaged the supporting German infantry and the two A7V.
|
 |
 |
In the face of these superior numbers, the A7V withdrew to the safety of their lines. They returned once German artillery disabled the male. The A7Vs engaged the Whippets and destroyed a couple before the British tanks quit the field. All of the tanks were later recovered by their respective sides.
Designed by Tim Adcock
Painted by Blake Coster |
 |
 |
| The A7V Grind Across The Battlefield |
 |
Contents & Assembly Guide for the A7V Box Set
Contact the customer service team at [email protected] if you have any issues with any of the components. |
| Description of Components |
a. 4x A7V tracks.
b. 2x MG sprues.
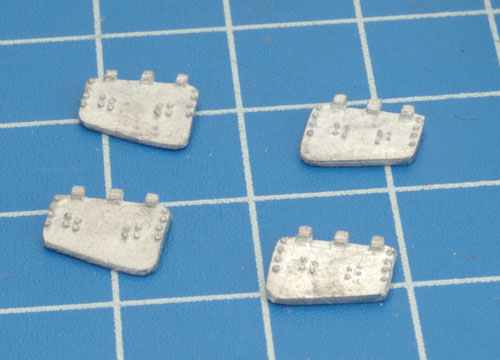
c. 4x Rear mudguards.
d. 4x Front mudguards.
e. 4x Front cut-down mudguards. |
f. 4x Rear cut-down mudguards.
g. 2x 5.7cm guns.
h. 4x Hull skirts.
i. 2x Resin A7V hulls.
|
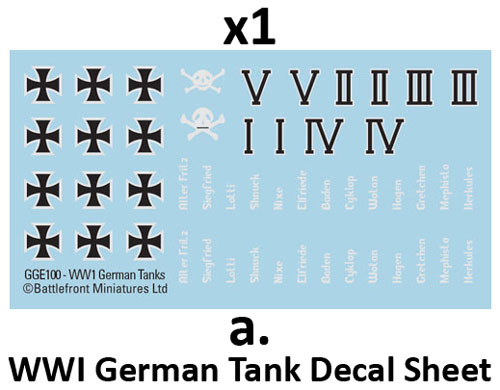
WWI German Tank Decal Sheet
Description of Components
a. 1x WWI German Tank Decal sheet.
|
 |
Assembling The A7V
|
|
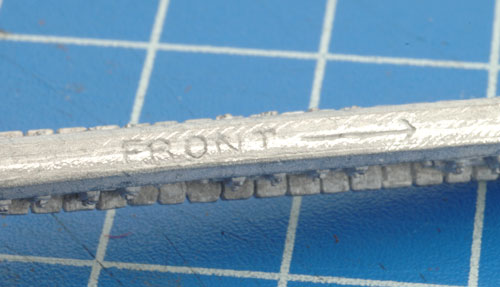
Step 1. Begin assembling the A7V by attaching the tracks to the bottom of the resin hull.
Note: The word 'Front' and an arrow has been inscribed on the top of the track to add in the correct orientation.
|
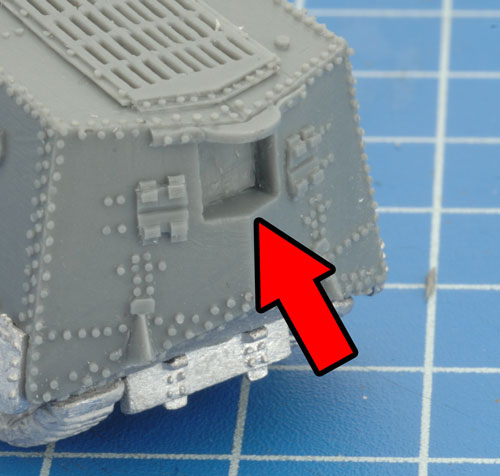
Which end is the front of the A7V you may ask? Where is 5.7cm goes.
Below: The front of the A7V is where the 5.7cm gun attaches to the hull.
|
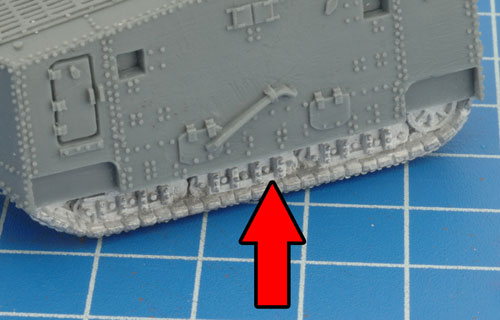
Below: The track attached to the left-hand side of the hull.
Tip: The tracks for the A7V are ambidextrous and therefore can be used on both sides of the vehicle.
|
|
|
|
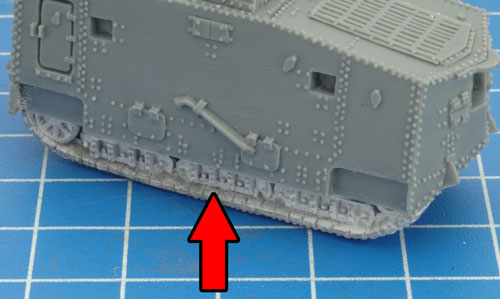
| Tip: When referring to left or right-hand side in regards to a Flames Of War miniature, the orientation is determined as if looking at the vehicle from the rear. |
| Below: The track attached to the right-hand side of the hull. |
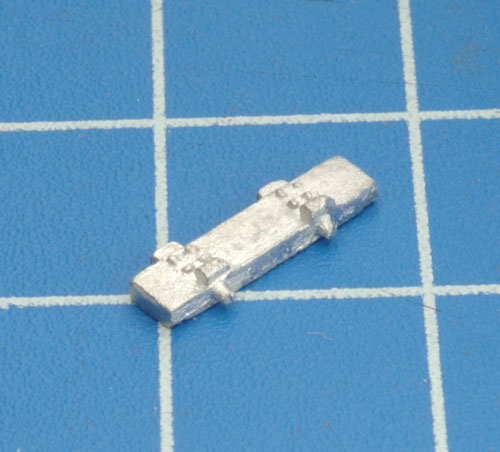
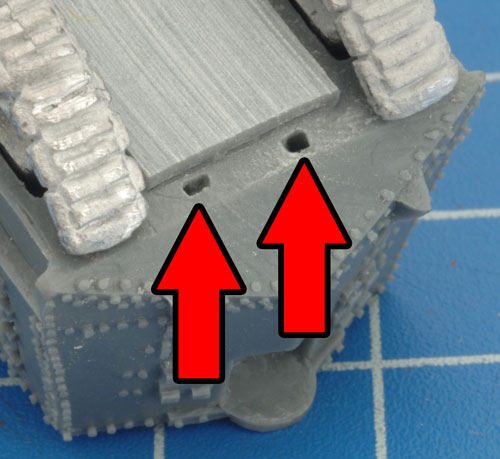
Step 2. Next, attach the hull skirts to the underside of the front and rear of the hull. Note the two holes in which the skirts attach.
|
 |
 |
 |
| Below: The front hull skirt attached to the resin hull. |
Below: The rear hull skirt attached to the resin hull. |
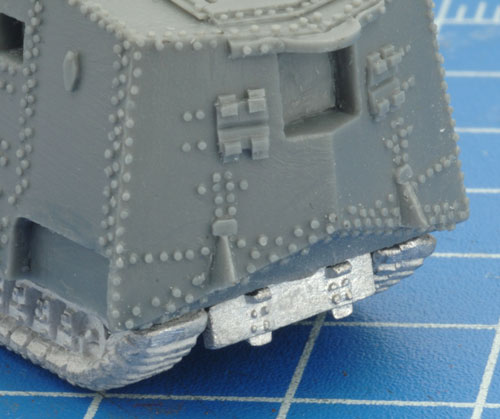
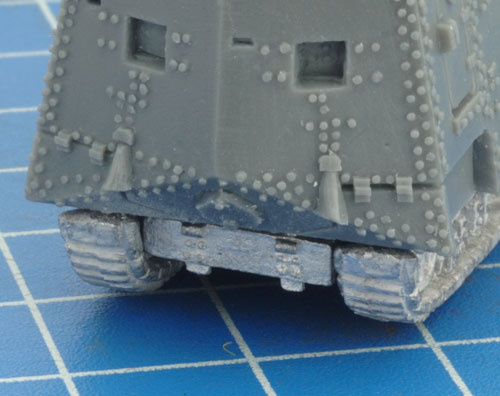
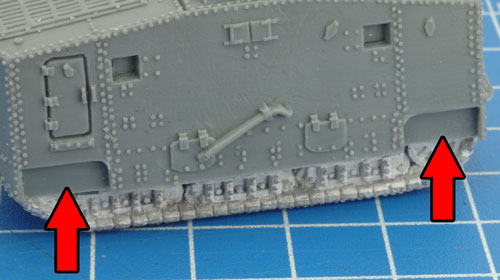
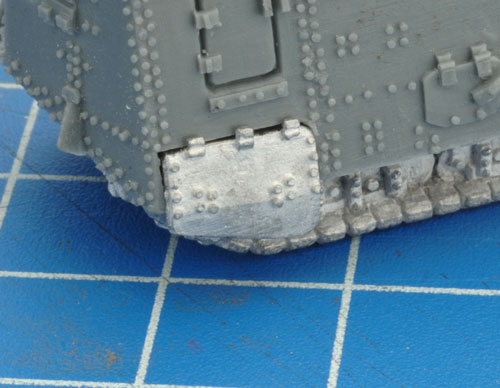
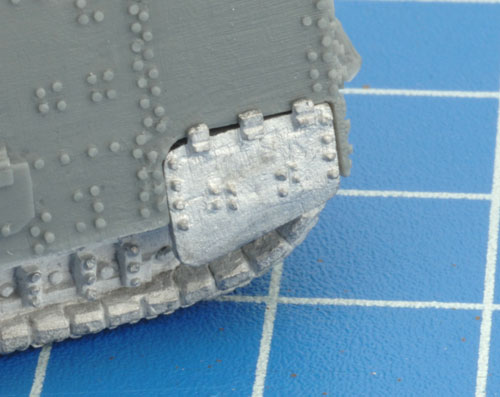
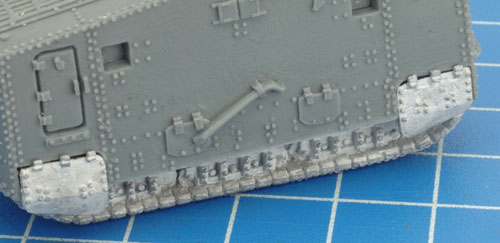
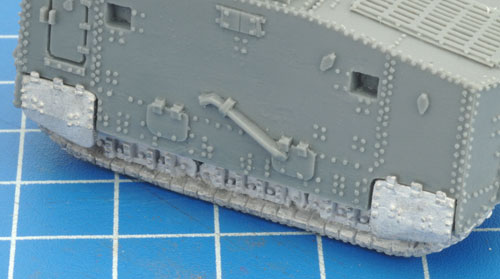
Step 3. Next, attach the mudguards to the hull of the A7V.
|
 |
 |
 |
Below: The locations on the A7V hull where the mudguards attach.
|
Below: The front mudguard attached to the hull.
|
Below: The rear mudguard attached to the hull. |
 |
 |
|
Below: The mudguards successfully attached to the left-hand side of the hull.
|
Below: The mudguards successfully attached to the right-hand side of the hull. |
 |
 |
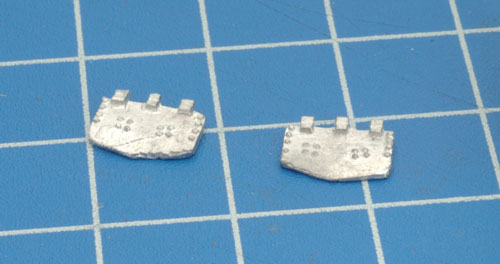
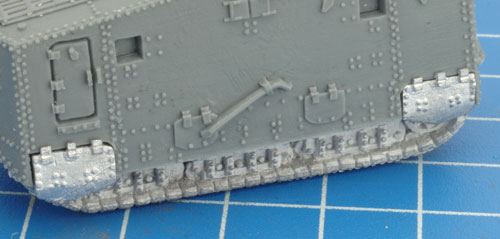
Below: There is also an option to model the A7V with cut-down mudguards. A7V crews would cut-down the mudguards to prevent mud from building up underneath and damaging the tracks.
|
Below: An example of the cut-down mudguards on the A7V.
Note: Use either the all regular mudguards or all cut-down mudguards on your A7V models; not a mixture of the two. |
|
 |
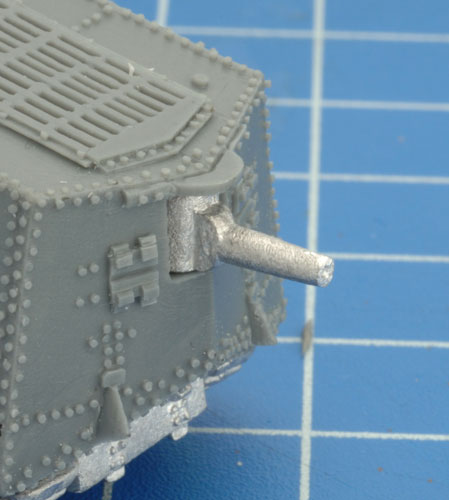
Step 4. Next, attach the 5.7cm gun to the front of the hull.
|
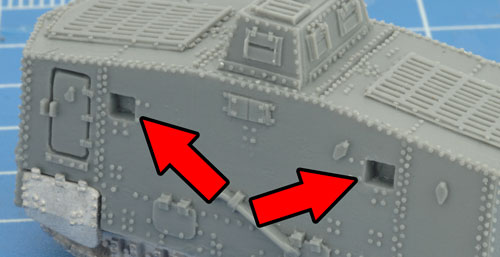
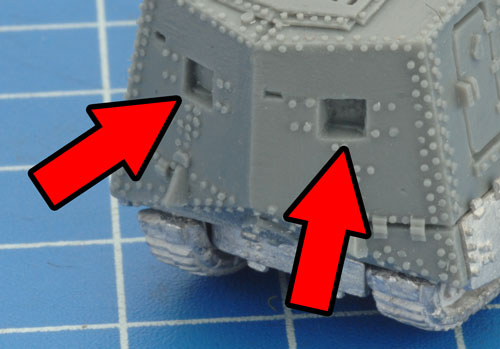
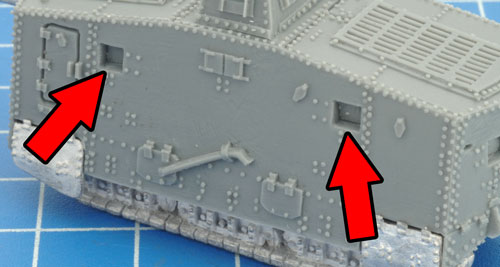
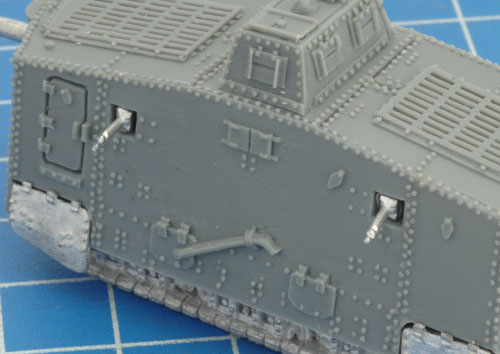
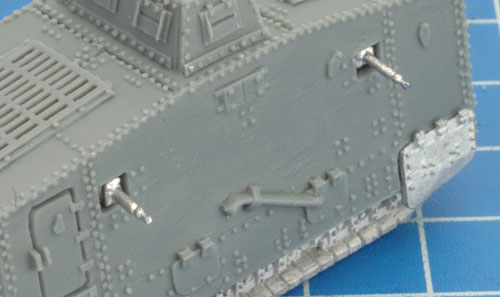
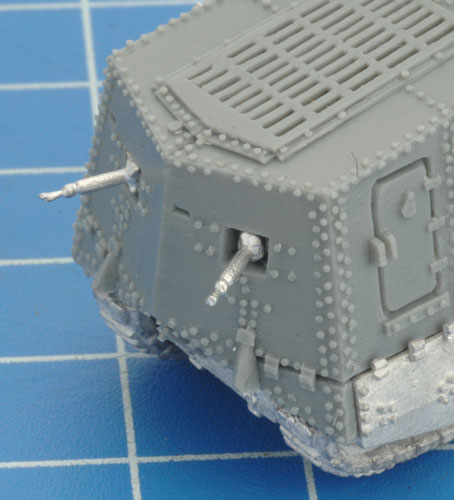
Step 5. Finally, attach the machine-guns to the inside of the machine-gun ports located on the hull of the A7V. |
 |
 |
 |
Below: The machine-gun ports of the rear of the A7V.
|
Below: The machine-gun ports of the left-hand side of the vehicle.
|
Below: The machine-guns attached to the left-hand side of the A7V.
|
 |
 |
 |
| Below: The machine-guns attached to the right-hand side of the A7V. |
Below: The machine-guns attached to the rear of the A7V. |
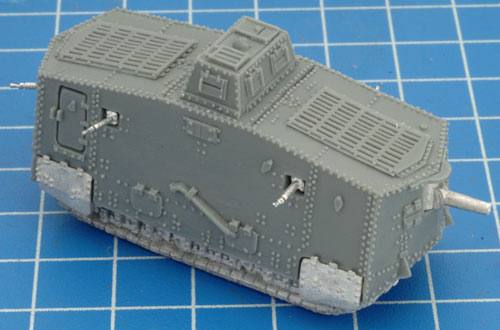
Below: With the machine-guns in place, the A7V is near fully-assembled.
|
 |
 |
 |
Last Updated On Friday, August 8, 2014 by Blake at Battlefront
|
|
|