
|
| |
|
|
|
|
|
|
Products mentioned in this Article
--None--
|
|
|
|
|
|
|
|
|
 |
|
|
Mark V* (GBR100)
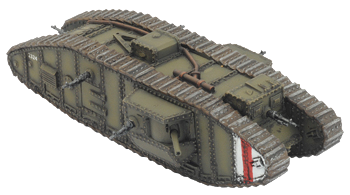 |
Mark V* (GBR100)
Includes one Mark V* tank
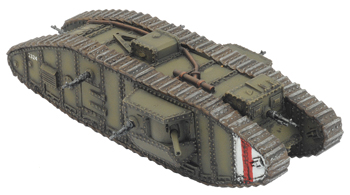
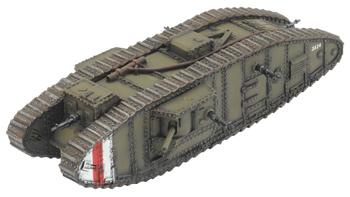
The Mark V* (read as Mark 5 Star) introduced the new concept of a battle taxi. It was made longer to accommodate a section of infantry to be deployed from the tank once it had reached the enemy positions.
Check out this product in the online store here...
|
1918 saw great changes in the warfare of the Western Front. Russia pulled out of the war, freeing thousands more German troops to push the Allies back huge distances. The Allied counteroffensives, with the new tanks, evolving tactics, and the arrival of the Americans, forced the Germans back towards their own borders and defeat.
Learn more about Great War here... |
 |
| The Mark V* Male |
 |
 |
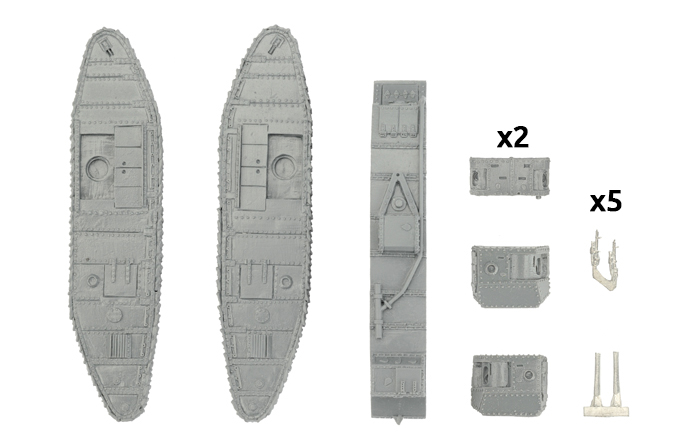
Contents & Assembly Guide for the Mark IV Box Set
Contact the customer service team at [email protected] if you have any issues with any of the components. |
| The Mark V* Male & Female Tank |
 |
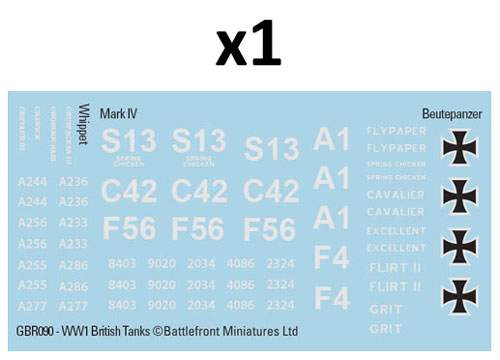 |
WWI British Tank Decal Sheet |
Assembling The Basic Mark V*
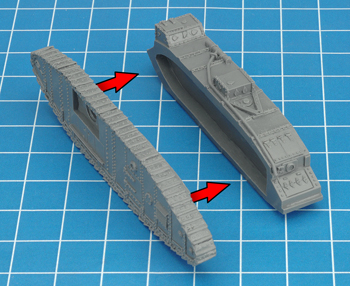
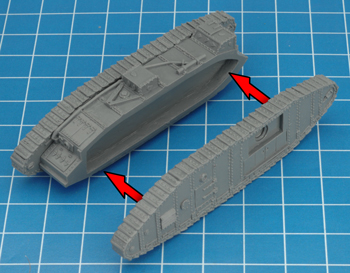
Step 1. Begin assembling the Mark V* by attaching the tracks to the resin hull.
|
 |
 |
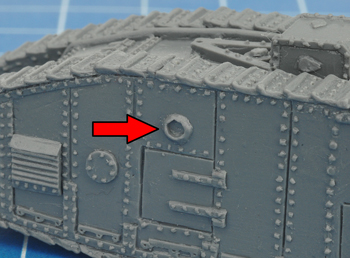
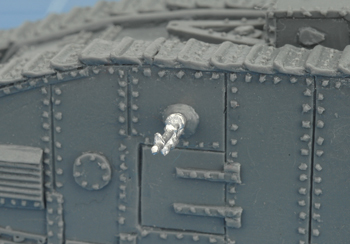
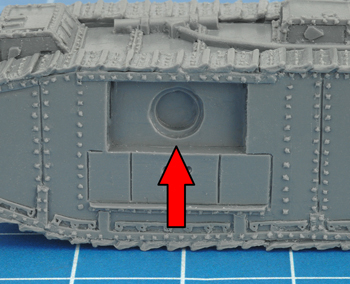
| Step 2. There are four machine-gun holes in the Mark V*. The front, back, left and right positions are shown below. |
 |
 |
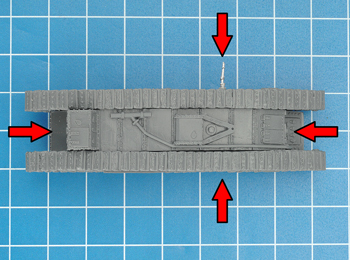 |
| Tip: When referring to the left or right-hand side in regards to a Flames Of War miniature, the orientation is determined as if looking at the vehicle from the rear. |
| Assembling The Mark V Female Sponsons |
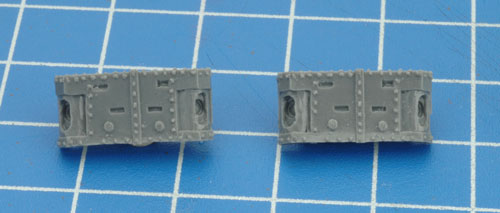
| Each Mark V* Female uses two female sponsons. These sponsons are identical and therefore can be used on both sides of the vehicle. |
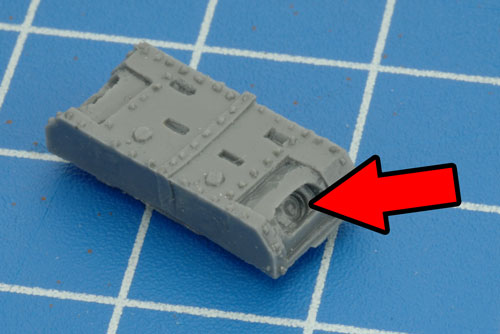
Step 1. Add the machine-guns to the sponsons. |
 |
 |
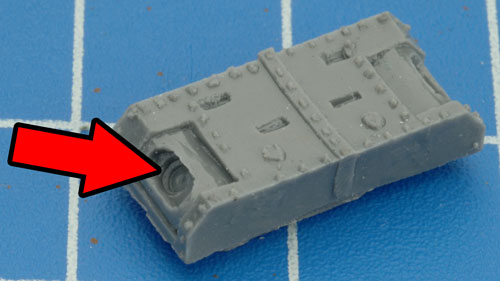 |
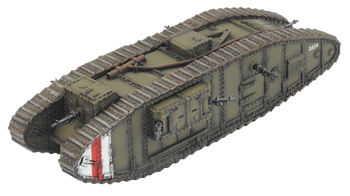
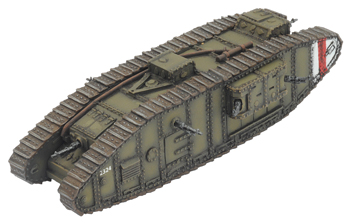
| Below: An example of a fully painted Mark V* Female tank. |
 |
 |
| Assembling The Mark V* Male Sponsons |
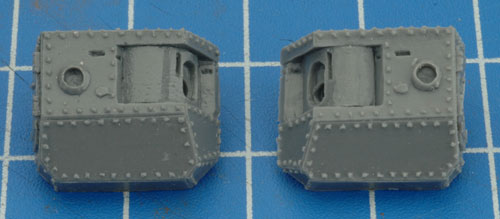
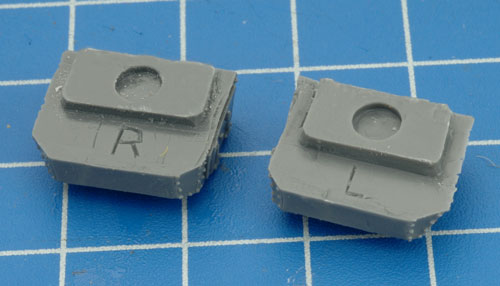
| Unlike the female sponsons, male sponsons are side-specific to the vehicle. On the back of each sponson is a letter 'R' or 'L' indicating which side of the vehicle it attaches. |
Step 1. Attach the 6 pdr guns to each of the sponsons. |
 |
 |
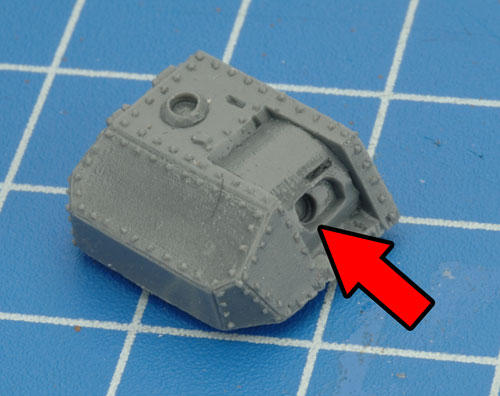 |
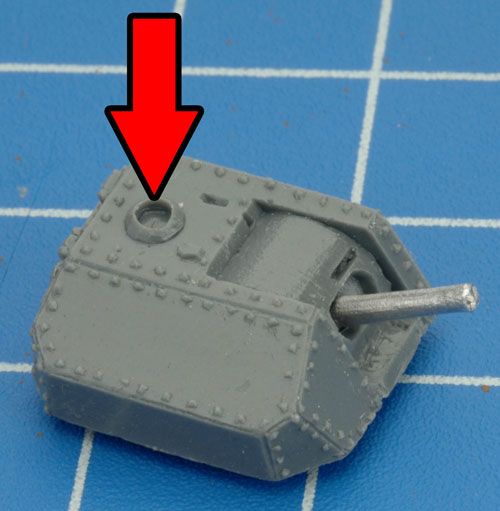
| Step 2. Next, attach the machine-guns to each of the sponsons. |
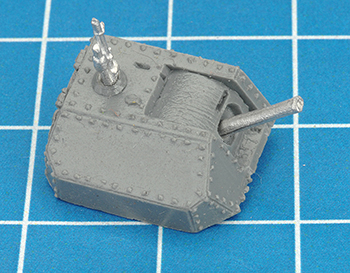
Step 3. Attach each of the sponsons to each side of the hull. |
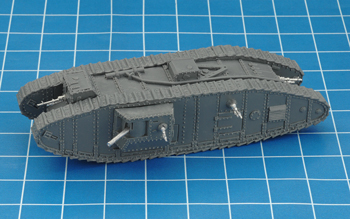
Below: The fully assembled Mark V* Male. |
 |
 |
 |
 |
| Below: An example of a fully painted Mark V* Male tank. |
Last Updated On Friday, December 1, 2023
|
|
|