|
|
|
|
Products mentioned in this Article
--None--
|
|
|
|
|
|
|
|
|
 |
|
|
 |
A Tale of Two Tigers: Part Three
Nothing A Lick Of Paint Won't Fix
with Blake Coster
In parts one and two of A Tale of Two Tigers, I outlined my plan for modelling the plastic Tiger I E and then executed it to the best of my abilities. Hopefully, you were able to pick up a few tips and tricks along the way and have been inspired to experiment with your own miniatures.
Now it's time, however, to break out the paints and show you how I intend to paint this magnificent beast! |
Getting a handle on things
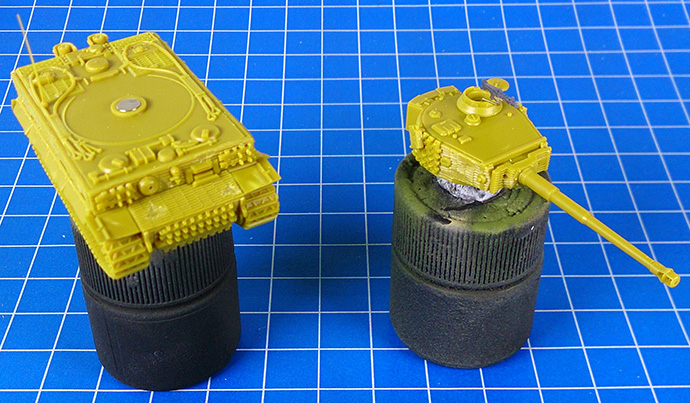
When I paint tanks for Flames Of War, I always temporarily attach both the turret and hull of the vehicle to some old paint pots using Blu-tack. This holds the plastic model securely, and can easily be tidied up once the paint job is completed.
The advantage of this system is that it allows me to angle the miniature when painting to get into the nooks and crannies without having to physically touch the wet paint on the model itself.
Right: The turret and hull attached to a pair of old paint pots. |
 |
 |
Paint it black
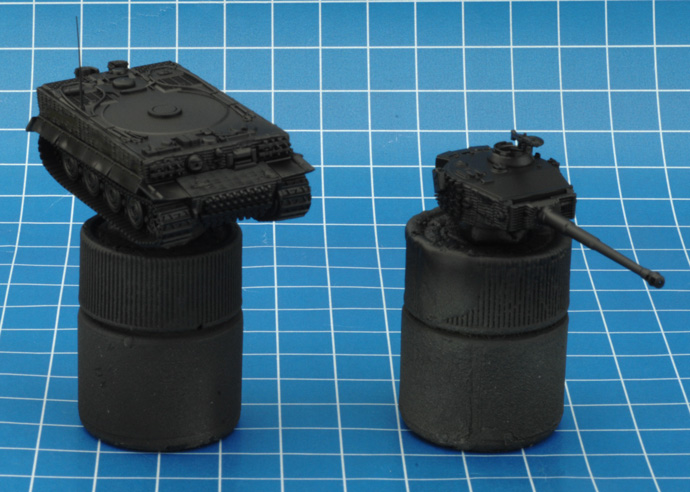
Once firmly attached to the paint pots, I prime my Tiger I E in Black (950). I prefer to spray on my primer paint with an airbrush but you can easily apply the primer by hand if you prefer.
Tip: Appling the primer by hand provides the opportunity to explore the miniature and familiarise yourself with the model. You can then picture in your mind how you will approach each aspect of the project when the time comes to actually painting it.
Left: The Tiger I E primed in Black (950). |
All about the base
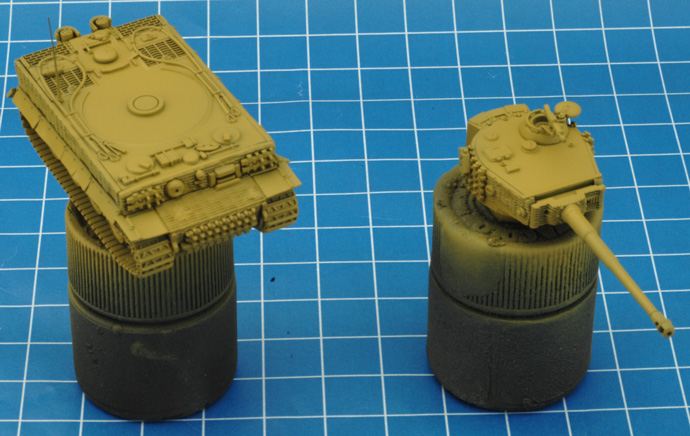
Next, it's time to add the base colour of Middlestone (882). Again, I apply the base colour as a spray using an airbrush, but you can use a spray can or brush it on if you prefer.
The Middlestone (882) will act as the basis of my three-colour camouflage scheme, the other colours being Reflective Green (890) and Chocolate Brown (872).
Right: The Tiger I E with its base colour of Middlestone 882. |
 |
 |
What is Three-colour Camouflage?
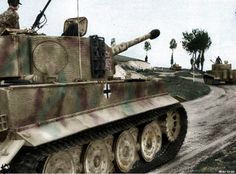
Three-colour camouflage was introduced in February 1943 with the introduction of Dunkelgelb (or dark yellow) as the new base colour for German vehicles and equipment. Two additional colours – Olivgrün (or Olive Green) and Rotbraun (or Red Brown) – were issued for application in the field. These colours were supplied in cans as a paste that required thinning (usually with gasoline) before being applied to vehicles. This system gave commanders in the field the most leeway when it came to camouflaging their equipment to match the surroundings in their specific area of operations.
Left: A Tiger I E in the three-colour camouflage scheme.
|
Applying the Red Brown
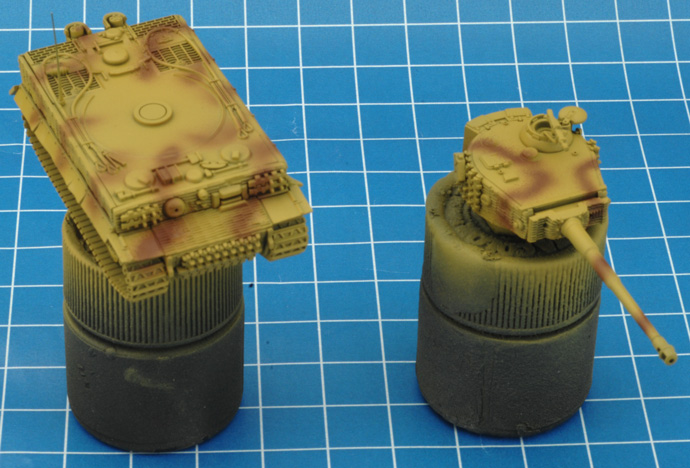
With the base colour of Middlestone (882) applied, it's time to apply the first of the two other camouflage colours, starting with Chocolate Brown (872) to represent the Red Brown colour. To re-create the soft edge stripe, I spray on the Red Brown camouflage using an airbrush. |
| Below: The Red Brown camouflage colour applied. |
 |
Applying the Olive Green
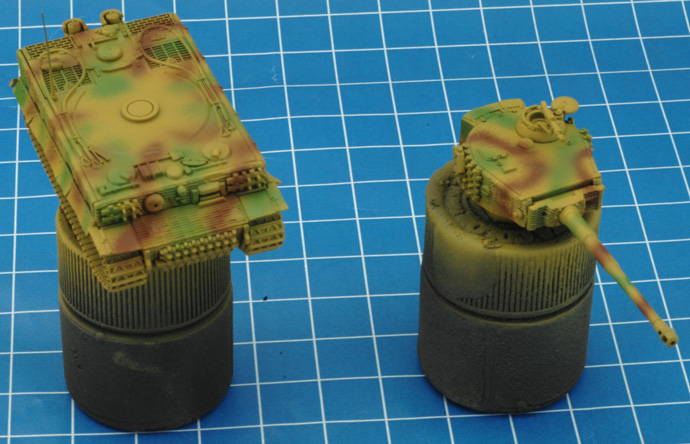
Now that I've applied the Red Brown camouflage using Chocolate Brown (872), time to add the Olive Green camouflage using Reflective Green (890). Once again, I use an airbrush to spray on the Olive Green camouflage stripes. |
| Below: The Olive Green camouflage colour applied. |
 |
Applying the Dark Yellow Overspray
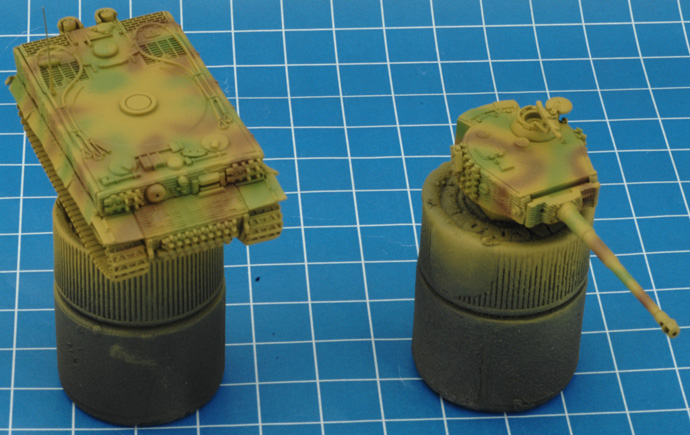
This is a technique I like to use after applying camouflage to my miniatures, and it works especially well with the German three-colour camouflage scheme. It simply involves an extremely light re-application of the base colour – in this case, Middlestone (882) – to both the hull and turret once the two camouflage colours have been applied.
This technique requires using an airbrush to apply a misting of paint applied about 30cm/12 inches from the model. When done right, it helps tie the Red Brown and Oliver Green into the base Dark Yellow colour, giving it a more natural faded/aged look. |
| Below: The Dark Yellow overspray successfully applied. Note the difference between the image below and the one above. |
 |
Applying the Highlight
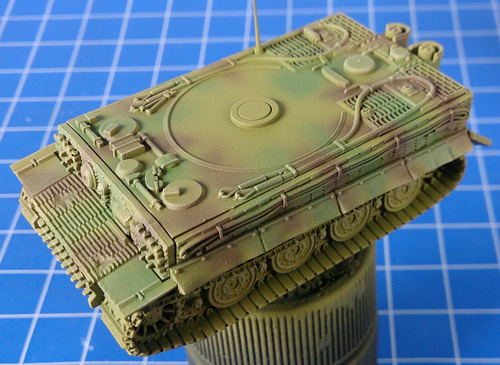
Once the overspray is complete, I then apply a light drybrush of Iraqi Sand (819) as a highlight to both the hull and turret.
Right: The hull of the Tiger I E after the highlight of Iraqi Sand (819) has been applied. |
 |
Applying the Wash
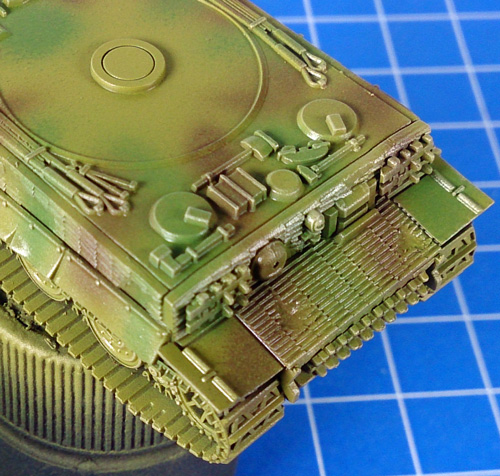
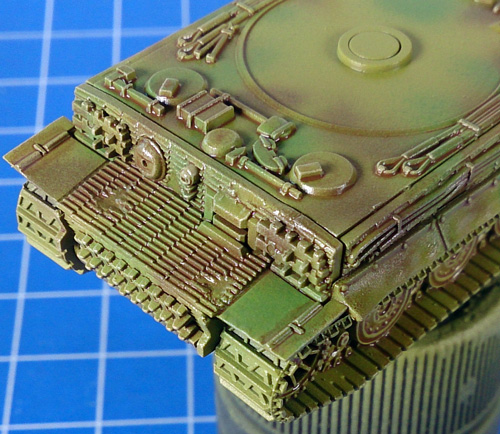
The purpose of a shading wash is to add the illusion of depth to the miniature. When applied correctly, the wash should settle around the raised detail on the model in this case tools, hatches and tow cables and into any recesses such as the Zimmerit or engine grills on the Tiger I E. For my Tiger I E, I will be using Rommel Shade (494).
To aid in this process, I applied a coat of gloss varnish to the Tiger I E to create a smooth surface to better assist the capillary action. When applying the wash I carefully dab a small amount around all of the model's detail. If I apply too much, I like to keep a paper towel handy to quickly dry the tip of my brush before sucking up the excess wash. |
| Below: The hull with the gloss varnish applied. |
Below: The hull after the Rommel Shade had been applied. |
 |
 |
Painting the Tracks
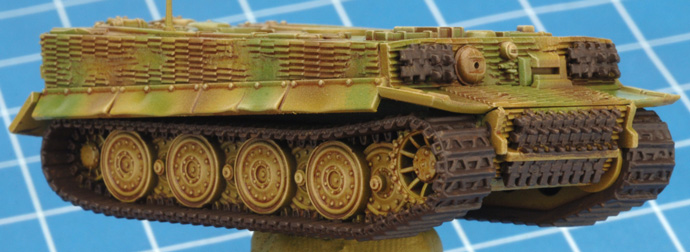
I'll be honest with you. The one thing I hate about painting tanks for Flames Of War are the tracks. I guess it is just the fiddliness of them; having to get your brush into small places to archive proper coverage while still painting within the lines i.e. not getting to paint anywhere it shouldn't be going. With that said, here's how I paint the tracks on my German tanks. |
| Step 1. I begin by painting the tracks German Camo Black Brown (822). This includes the spare track links on the hull and turret. |
 |
| Step 2. Next, I highlight the tracks with a heavy drybrush of Flat Earth (983). |
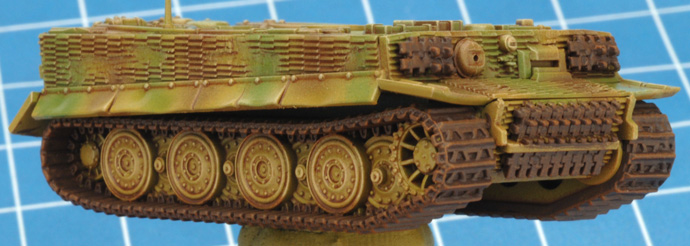 |
| Step 3. Finally, I lightly drybrush Oily Steel (865) to the tracks for a subtle metallic look. |
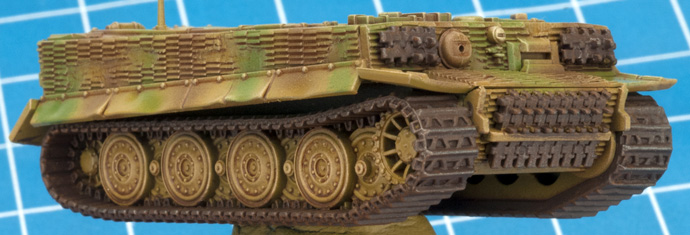 |
| Painting Tool Handles / Bare Wood |
| Step 1. To paint tool handles and any bare wood such as the wooden jack block, I start with a base colour of Chocolate Brown (872). |
Step 2. Next, I complete the tool handles by highlighting them with Flat Earth (983). |
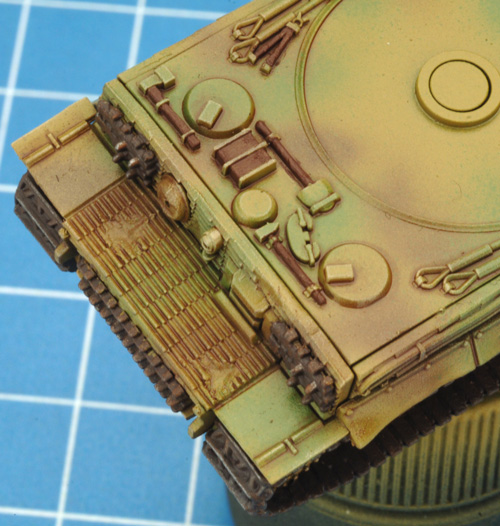 |
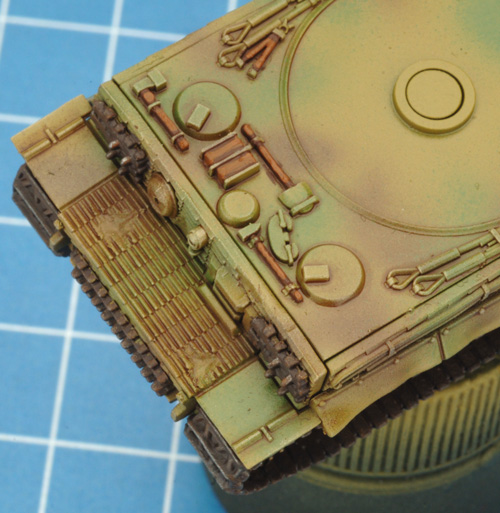 |
| Painting Bare Metal |
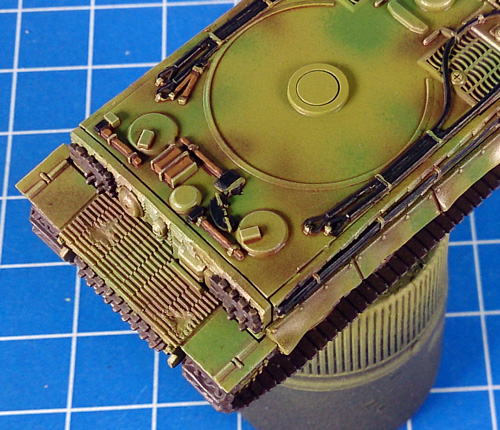
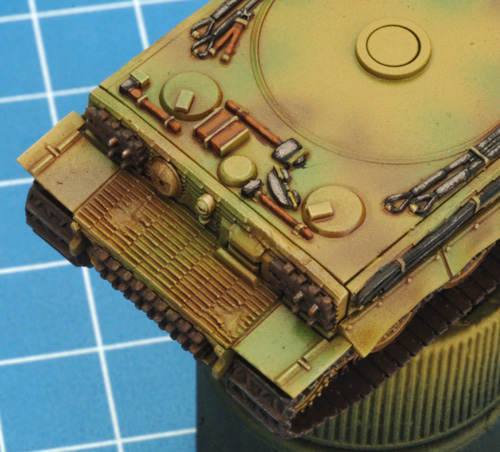
| To paint any of the metallic surfaces such as tow hooks, tow cables, tool heads, jacks etc on the Tiger I E. I use the following method. |
| Step 1. I begin by painting all of the bare metal surfaces Black (950). |
Step 2. Next, I complete my bare metal look by applying a highlight of Gunmetal Grey (863). |
 |
 |
| Below: A closer look at the completed tow cable on the left-hand side of the Tiger I E. |
 |
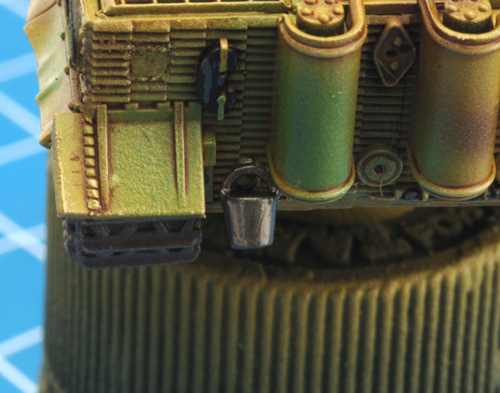
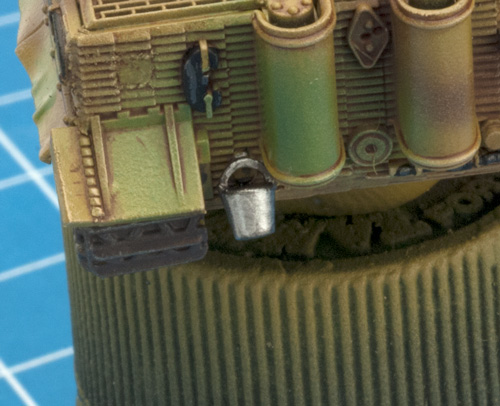
| Painting the bucket |
Painting the antenna |
| Step 1. To create the look of a galvanised bucket, I begin by painting the bucket with Gunmetal Grey (863). |
Step. 2 To complete the look; I highlight the bucket with Oily Steel (865). |
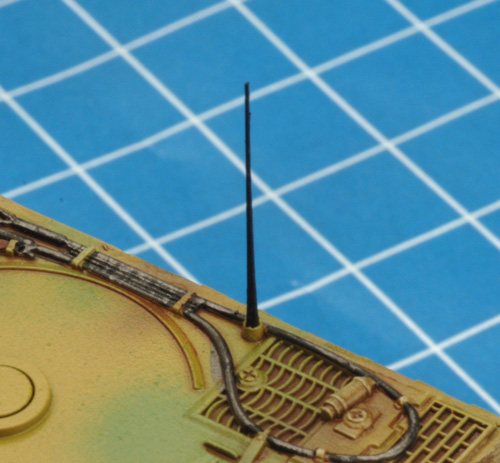
This one is pretty easy: to paint the radio antenna, I simply use Black (950). |
 |
 |
 |
| Painting the fire extinguisher |
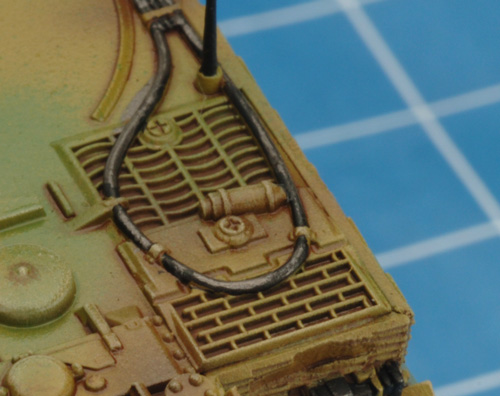
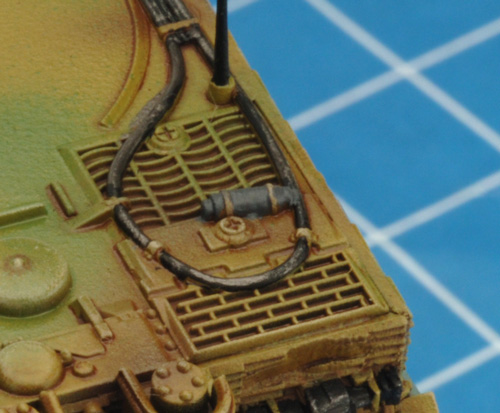
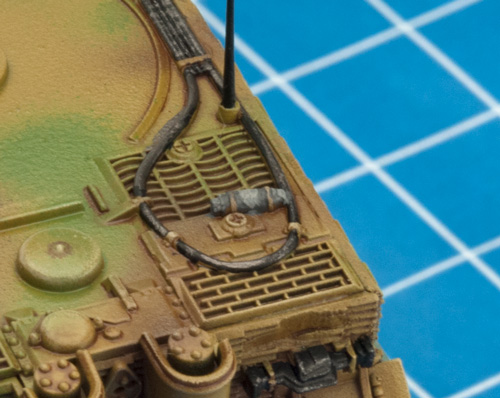
| Step 1. To add a little contrast to the Tiger I E, I begin by painting the fire extinguisher located on the engine deck German Grey (995). |
Step 2. I finish up by allowing a highlight of London Grey (836). |
 |
 |
 |
| Painting the jerry can |
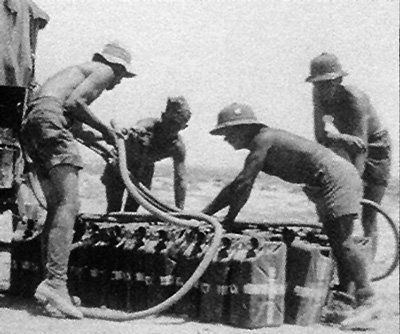
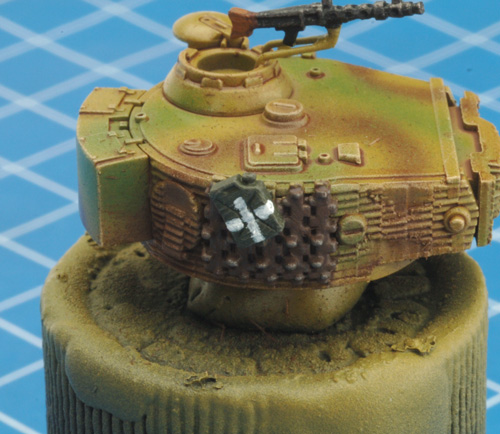
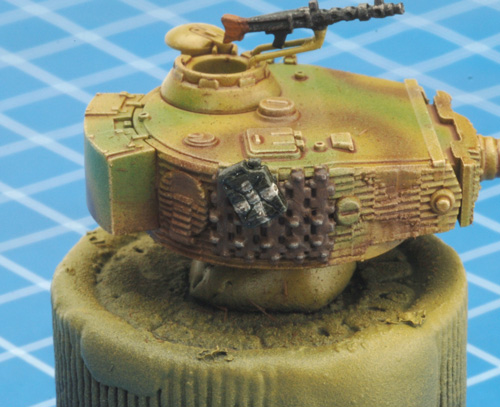
| I thought that I'd try something different when came to painting the jerry can. Rather than leaving it as regular fuel container, I thought I paint it as a water container instead. Jerry cans used for this purpose had a white crossed painted on them in order to distinguish them from those containing fuel. |
| Below: Examples of the jerry cans being used for water instead of fuel. |
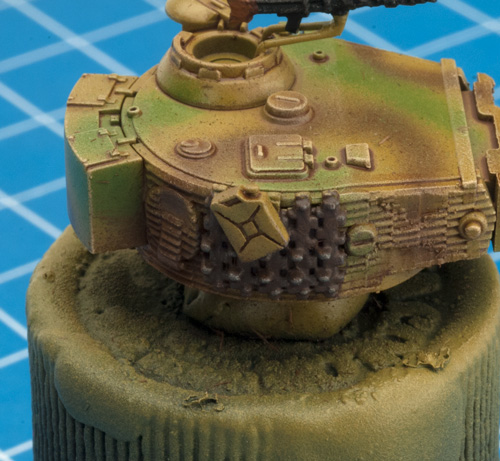
Step 1. First, I begin by painting the jerry can German Camo Dark Green (979). |
 |
 |
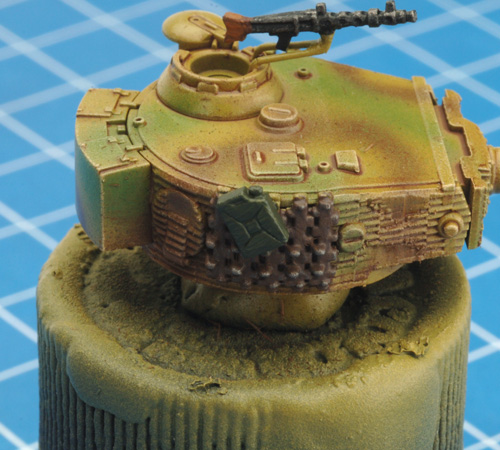 |
| Step 2. Next, I apply a quick drybrush of German Fieldgrey (830) as a highlight. |
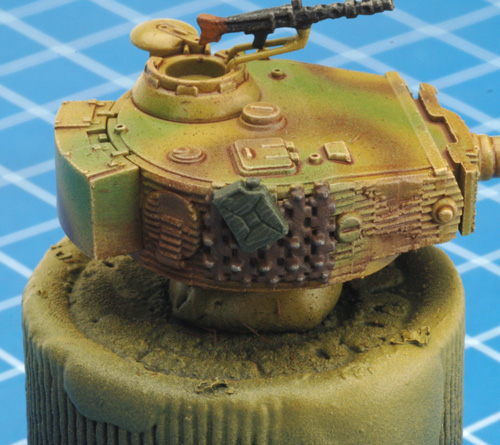
Step 3. I then, with a steady hand, paint a cross on the jerry can be using White (951). |
Step 4. I then apply a wash on the jerry can using Manstein Shade (492) to add some weathering. |
 |
 |
 |
That's it for this week. But be sure to join me next time as I finish up this project by completing the paint job and adding some extra details such as markings and foilage camouflage.
~ Blake. |
Last Updated On Sunday, June 23, 2019
|
|
|