|
|
 |
|
|
The Battle of Malmédy
 |
Battle of Malmédy
By Mark Francis & Mike Haught
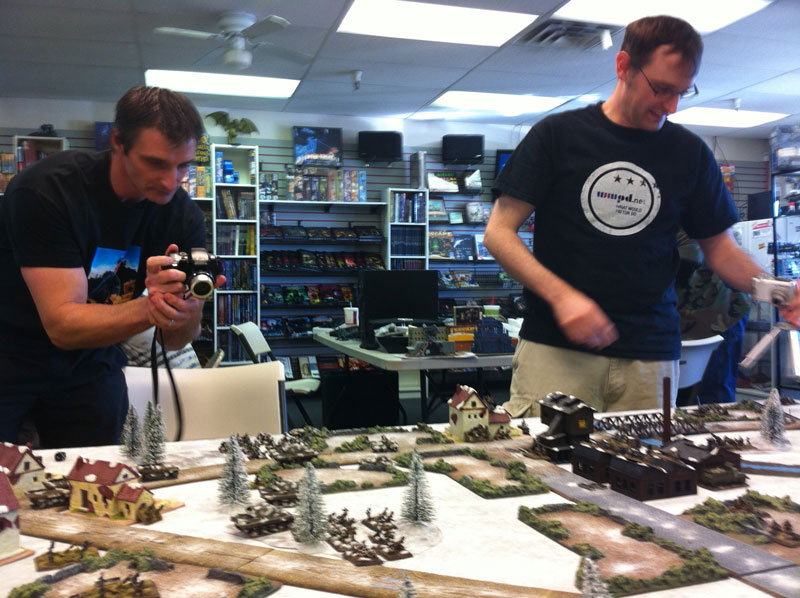
Earlier this month Mark and I played our pre-Sands game at Imperial
Outpost games in Glendale, Arizona, where my US engineers clashed with
Mark’s Skorzeny commandos in the Battle of Malmédy scenario.
The table is laid out like the actual battlefield, and we chose No
Retreat as our game template. We also added a few special rules, such as
Dawn and a variation on Scattered Reserves. It was amazing fun,
and we thought we’d knock out an official scenario for everyone to play
at home. Thanks to the gracious help of Victor, one of our graphic
designers, you can now download the Battle of Malmédy Scenario as a PDF.
|
|
Download the The Battle of Malmédy Scenario PDF here …
Mark and I met up at the store one afternoon to test out or armies and
have fun on Mark’s excellent Malmédy table. I’ll leave Mark to describe
the game...
|
|
Well, Mike and I got our pre-Sands battle in, fighting over the paper mill outside of Malmédy. It was an epic battle indeed, closely following the actual historic outcome. The battle for the TD house was hard fought and extremely bloody.
We basically played a No Retreat Mission with Dawn (Panzer Brigade 150 attacked in fog during the early hours). We did add a slight variation of a chance of reserves arriving from 1 side of the table (the roads to Malmédy) but this never materialized.
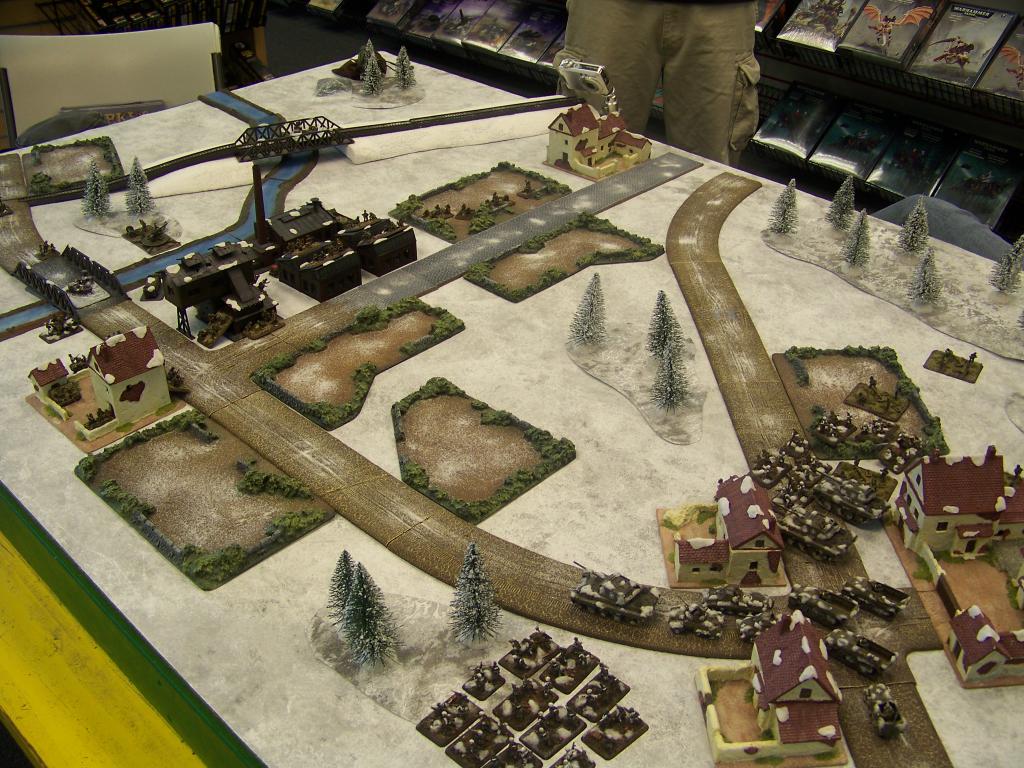
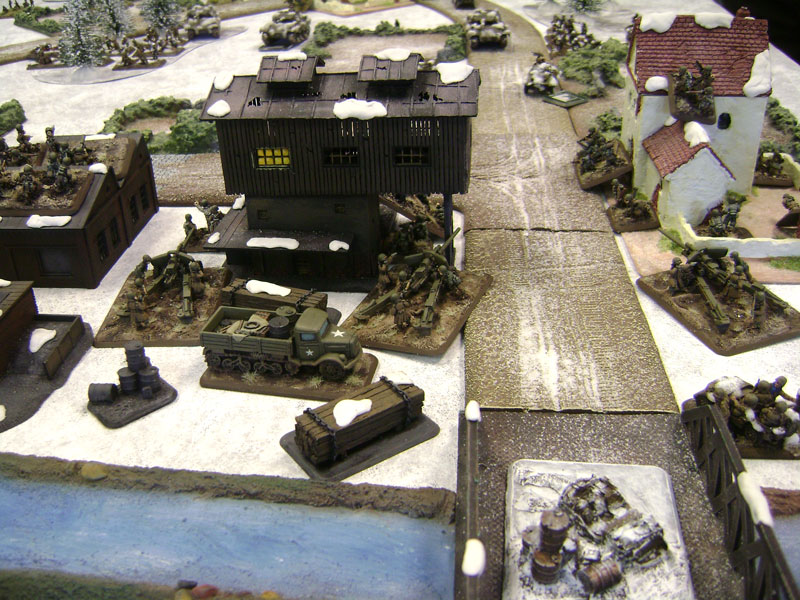
Mike deployed both engineer platoons (with booby traps), the TD platoon (jeeps), 90mm AA guns, and 2 HQ 57mm AT guns in ambush. In my initial deployment I weighted my attack along the road to the TD house.
|
 |
|
Turn 1
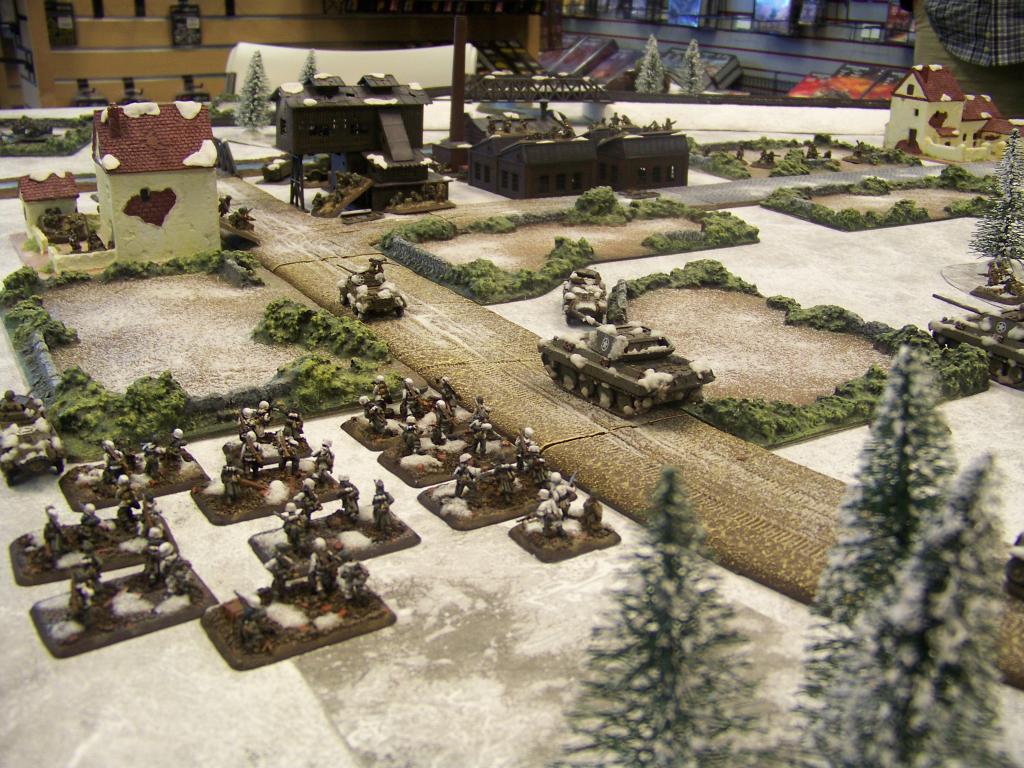
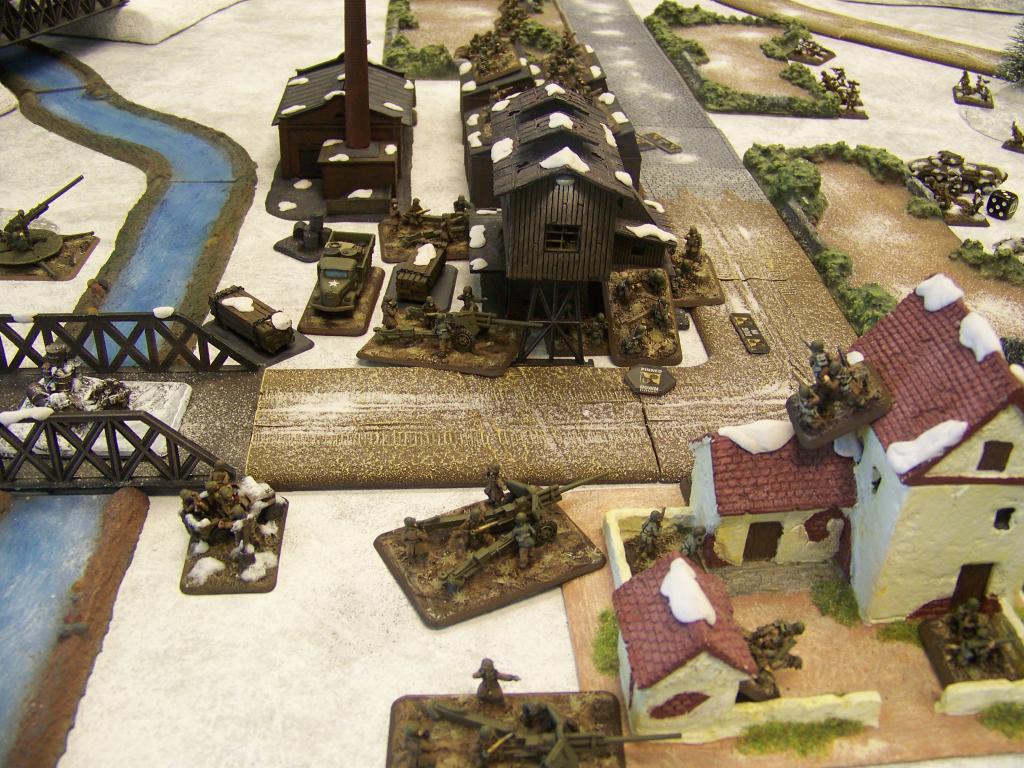
Germans advance in the darkness deciding not to attempt any shooting. One of my Skorzeny teams pins the Towed TD jeeps but they immediately unpin with help of CO. The towed TDs deploy early to dictate firing positions before my recce closes in. They attempt to shoot at my Greyhounds, identifying them but failing to hit in the darkness. The two engineer HMGs see far enough and open up on my pios, but cause no damage. In addition, Mike sets three booby traps under my troops, one under the engineer command, a Panther, and Greyhound.
|
 |
 |
 |
Turn 2
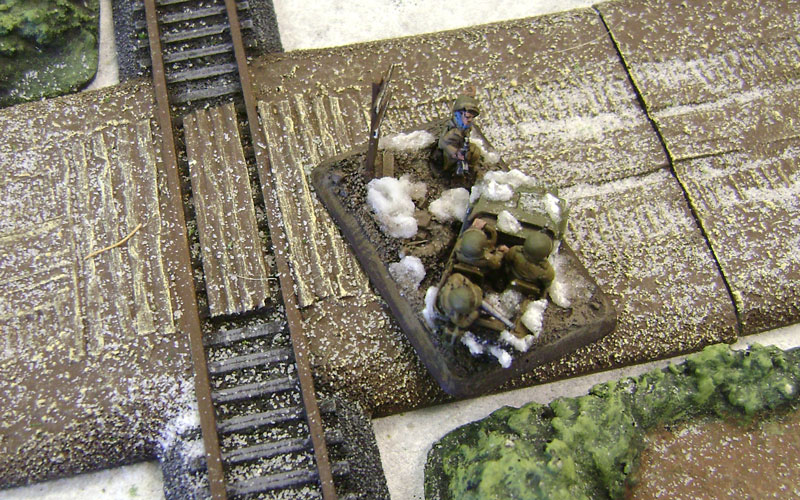
With the TDs and HMGs exposed, the Panthers engage them knocking out a towed gun. The heavy mortars range in on the HMGs, knocking one out and pinning the platoon. The pioneers attempted to move forward but set off the booby trap, killing the command team. Another trooper took over but the remaining troops dived for cover and stayed pinned for the turn.
The US get reserves and bring on the artillery, while my Skorzeny team pins the TDs again. However, the fire from the TDs fails to hit my recce as their ROF was reduced to 1 by digging in (they were unnerved by the accurate mortar fire last turn).
|
|
Turn 3
The pioneers unpin
and advance towards TD house. The Gepanzerte Panzergrenadiers also move
up the road to add their fire onto the engineers. The heavy mortars
range in on the paper mill again, knocking out a Towed TD (you have to
love FP3+!). A Panther knocks out the second HMG from the engineers.
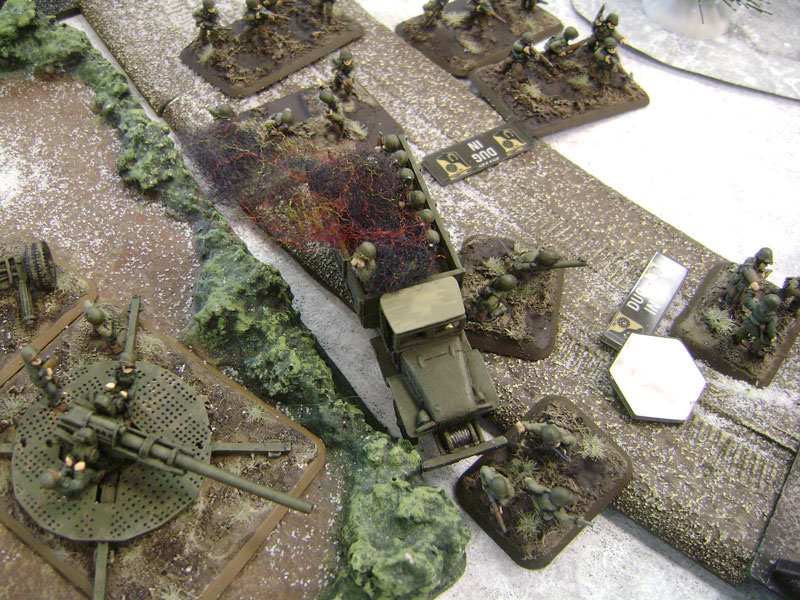
As night continues the US get another reserve and bring on the 99th
(Seperate) Norwegians in their trucks. I also try to pin the 90mm AA
guns but the second Skorzeny team fails his skill test and is arrested.
The other Skorzeny team does nothing as the TDs are already pinned.
|
 |
|
The 105s range in on the pioneers, hitting four but causing no damage, however an engineer rifle team kills a stand. A half-track is also knocked out by the 90mm AA guns killing the solitary occupant. The halftracks pass their morale test to stay on the table.
|
|
 |
Turn 4
Night prevails for the Germans. The pioneers move up to assault range with the two flame-throwers leading the way. The half-tracks move up to support them. The Panthers attempt to kill more TDs and takes out a third gun but the platoon’s ‘zooks pass their saves. The heavy mortars range in on the 90mm AA but fail to hit, however they do catch a single truck of Norwegians, destroying the truck, killing four teams, and pinning the platoon—loving the heavy mortars today.
|
| The pioneers flame the building killing two teams as the rest lead an
assault into the building, killing another engineer. However, the
engineers, CO and TD bazooka counterattack, killing three pioneers and
drive them away from the house. The pioneers then promptly fail their
morale test and leave the table.
|
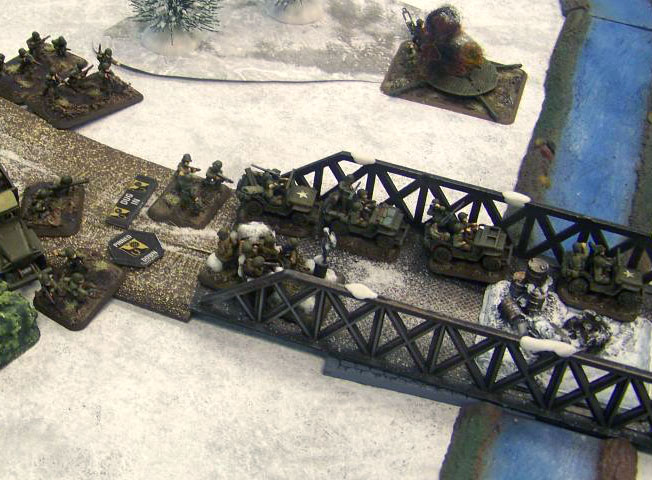 |
Finally the sun comes up and the fog lifts. The Skorzeny team pins the 90mm AA after moving onto the bridge last turn, but it manages to immediately dispel the rumours and unpin. Two Jeep platoons came on from reserve and drive at full speed toward the bridge. The Norwegians fail to unpin or dig in (busy cooking meatballs I guess.... I know, it's a Swedish chef...same thing!)
The US artillery fails to range in on the halftracks, but follow up fire from the ‘zooks in the TD house bails one and knocks out the last track killing both occupants (platoon down to just 2 teams now). The bailed track fails morale and is sent to the rear. The 90mm AA gun hits a Panther at long range and knocks it out through its front armour.
|
|
Turn 5
The CO, 2IC and two Panzergrenadier teams throw caution to the wind and move up onto the remaining occupants of TD house. The Panthers move up and attempt to knock out the 90mm AA to no avail. The heavy mortars hit the AA platoon but Mike passes his 5+ save for the gun.
My infantry assault the TD house killing a single engineer, but all four teams are wiped out by successive counter swings from engineers and a TD bazooka team. However, the damage inflicted on the engineers is too much and they also flee, taking their CO with them.
|
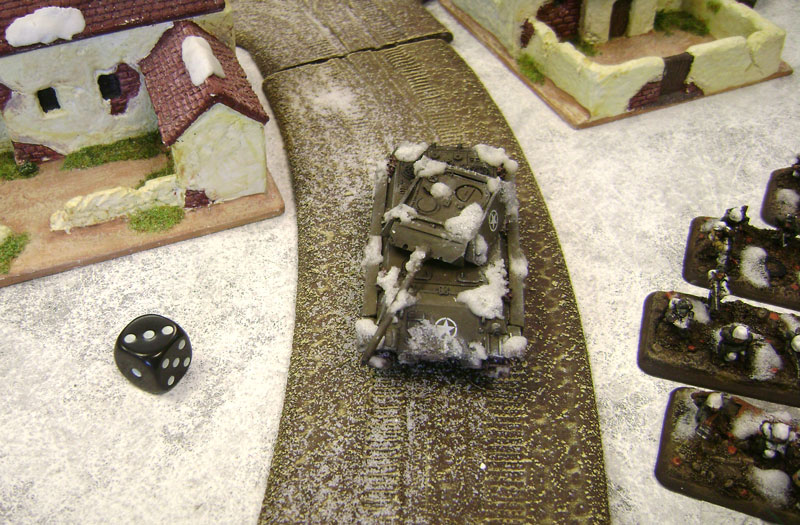 |
The last reserve jeep platoon comes on and also races down the road, surrounding the Skorzeny team. The Norwegians finally unpin, and the 90mm AA does as well. The last remaining TD bails a Greyhound while the arty tries to knock out a Panther but fails to hit. The 90mm also fails to hit any of the Greyhounds. During this turn, all three jeep command teams, and both the Norwegians and 90mm AA command team attempt to challenge the Skorzeny team and discover his treachery. However, being avid sports enthusiasts to the man, the team answered every question about baseball and passed five consecutive skill checks!
|
|
Turn 6
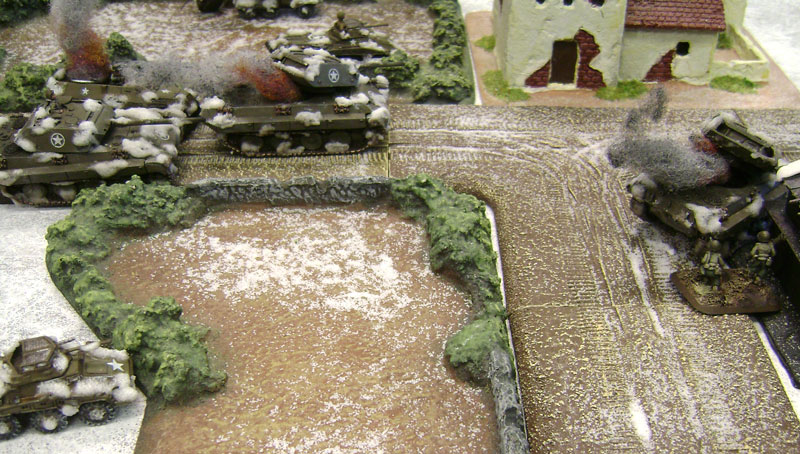
The Panthers move up between TD house and the papermill, but still fail to kill the 90mm AA. However, my SS Jäger hit a gone-to-ground TD bazooka in bulletproof cover and killed it with Rifle/MG fire! This SS Jäger platoon had dug in earlier in an overwatch position to keep the second engineer platoon moving up to support the others. Despite this lucky shooting, the TD platoon passes its morale and holds on.
|
 |
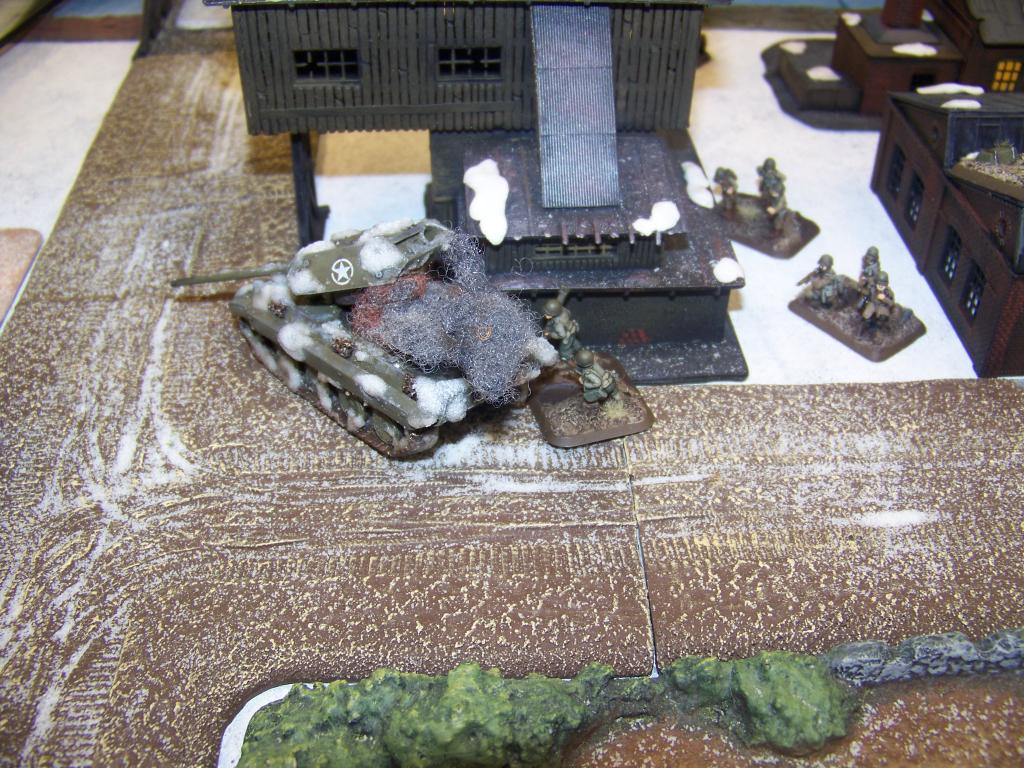 |
After being so successful in the previous turn, the Skorzeny team finally ran out of correct answers when it failed a Skill Test to spread rumours to the 90mm AA guns. The team was finally arrested after causing some serious chaos in the rear area!
The US TDs finally knock out a Greyhound and the engineers send two teams to attack the rear Panther.
An engineer’s bazooka bails out the tank before both teams hit it from behind. Defensive fire from a greyhound and SS jaeger kills one team but does not drive back the assault. The Panther is hit by the bazooka team but passes his armour save. The morale test is subsequently failed and the last Panther falls back losing the bailed one to the engineers.
|
|
Turn 7
With most of my infantry gone, I feel I need to get the last Panther dirty. He moves up to contest the objective.
|
| A Greyhound moves around to engage the TD platoon and the SS Jägers try
to put some damage on the engineers but fail to hit. The heavy mortars
do kill one team, however and pin down the engineers. The Greyhound
finally knocks out the last towed TD with .50cal fire but the remaining
bazookas and command team refuse to leave the battle and hold on to TD
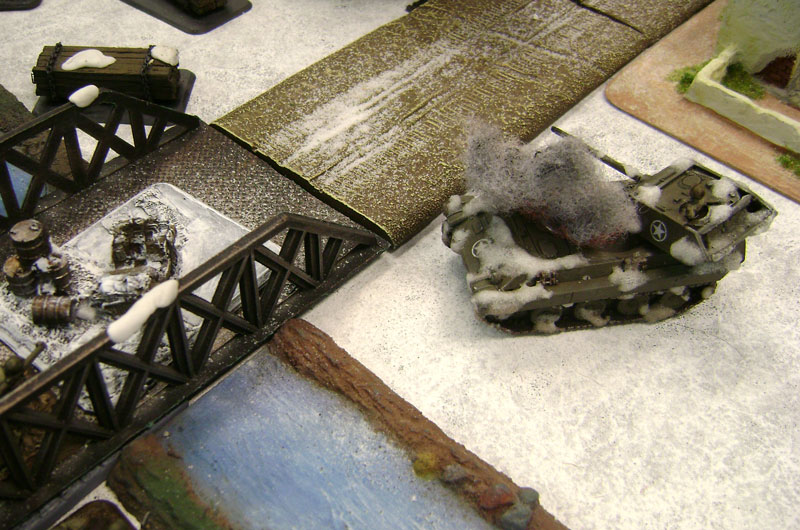
house! The Panther hits the 90mm AA but he again passes his save. I
mistakenly move my Greyhound back on to the road with a Stormtrooper
move… |
|
With the Greyhound out of sight, the engineers’ 57mm anti-tank guns patiently held in ambush up to this point now strike from behind the Panther from TD house...d'oh! I forgot about those guys!
However, with three hits the Panther is only bailed. It also bounces a 90mm shell off the front before finally succumbing to a 105mm bombardment (yeah, he was pretty tough...took a lot of punishment and passed several morale tests!)
|
|
Turn 8
Well, that was pretty much game over for me right there. I figured my best bet was now to try and take out some platoons. I moved the Greyhounds up the road to engage the Norwegians and 90mm AA. The SS Jäegers moved up to engage the engineers in assault. The heavy mortars tried to bombard the 57s to knock them out but failed to range in.
|
|
One Greyhound killed two Norwegian teams, which
ultimately caused the platoon to flee the table. The other hit the 90mm
AA, he failed his save but I couldn't get the 5+ firepower test to
destroy him.
As my Jägers assaulted the
engineers, they received five hits out of six defensive fire dice, killing
one team (they were now down to three from previous fire). I passed morale
(for now).
To wrap up the game, Mike assaulted my last three stands in the SS Jäger platoon, killing them in a vicious close assault.
|
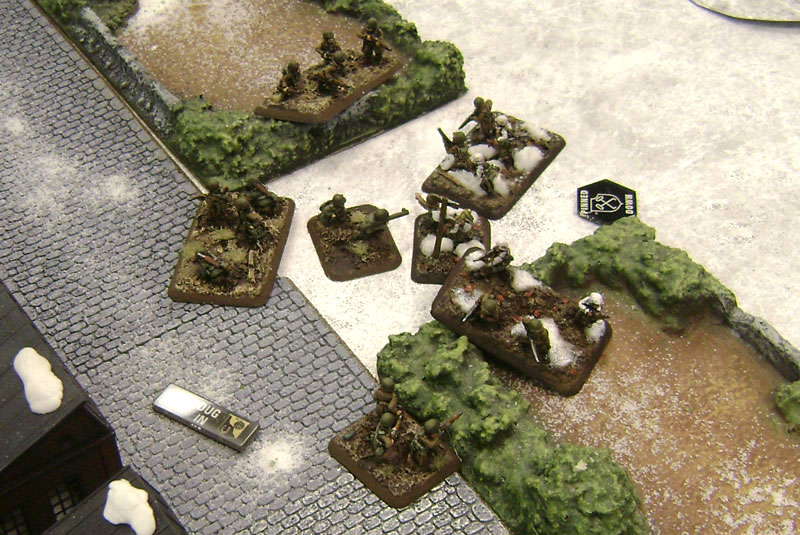 |
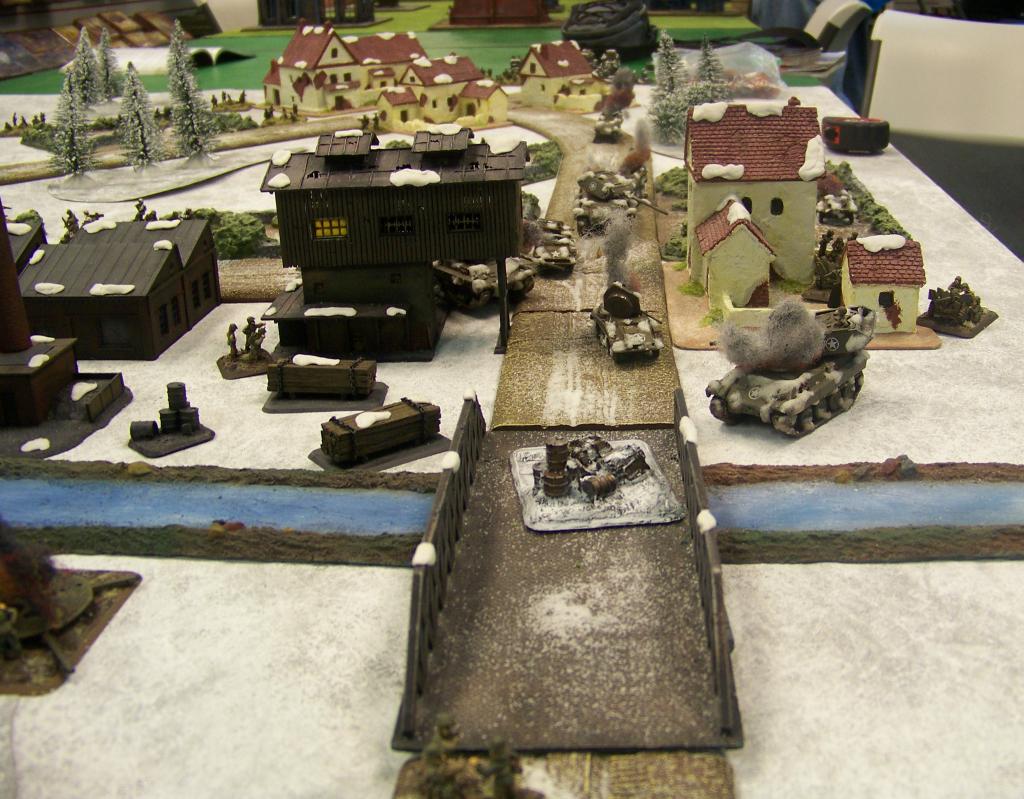
Well, that was closer than any of my test games had gotten!! I did get a Panther up to the bridge to contest, but failed to remember the two 57s hiding in ambush. I managed to kill an engineer platoon and the Norwegians but couldn't get the TDs or 90mm AA to break. If the Panthers had remained active, I could have tried to hunt the US recce jeeps. With Mike having 10 platoons and winning the game, the end result was a 5-2 to the Americans.
|
 |
|
So, where did I go wrong?
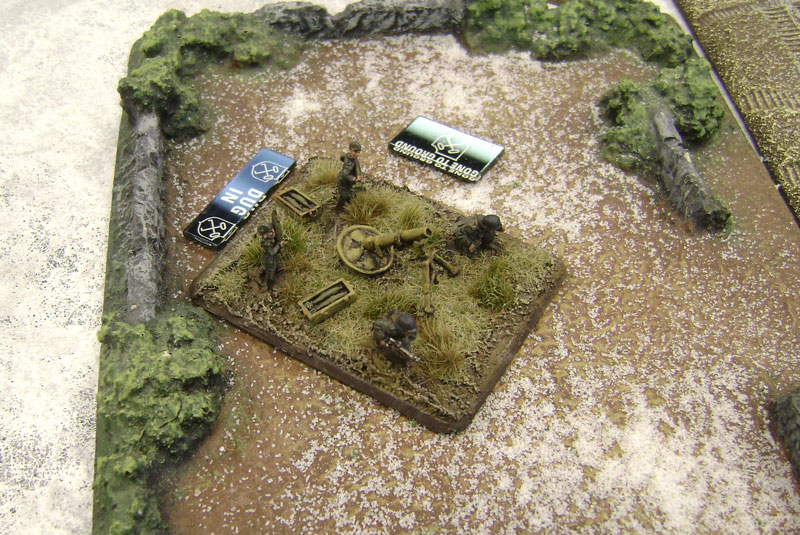
I don't question my conservative use of the Panthers. With concentrated fire, I was able to knock out most of the towed TDs, a 90mm AA and some engineers. I do think that I should have moved the SS Jägers over to my left earlier so that they could have acted as protection for the Panthers from the engineers. If I could have seized the TD house it would have given me a jump-off point to the bridge but that pesky TD bazooka just wanted to live on and on. And of course, forgetting the 57mm ambush didn't help matters!
~ Mark Francis
|
 |
Last Updated On Thursday, January 24, 2013
|
|
|